Comprehensive Guide to Mobile Phone Repair
In an era dominated by technology, the ability to troubleshoot and rejuvenate personal gadgets has become increasingly valuable. Whether it’s addressing a cracked screen or restoring functionality, understanding the intricacies of these devices empowers users to take control of their electronics.
This section aims to provide comprehensive insights into the processes involved in revitalizing gadgets, offering a step-by-step approach to help individuals navigate common issues. By delving into the fundamental components and techniques, readers can enhance their skills and gain confidence in handling various challenges.
Moreover, embracing the art of restoration not only saves time and money but also fosters a deeper connection with the technology we rely on daily. Join us as we explore the ultimate strategies for maintaining and rejuvenating your cherished devices, ensuring they remain functional and efficient for years to come.
Understanding Common Mobile Issues
Every handheld device may encounter a variety of challenges that can hinder its functionality. Recognizing these prevalent problems is essential for effective troubleshooting. Users often face issues ranging from performance slowdowns to connectivity failures, which can disrupt daily activities.
Performance Challenges
One of the most frequent concerns involves sluggish operation. This can stem from insufficient storage, outdated software, or excessive background processes. Regular maintenance, such as clearing cache and uninstalling unused applications, can significantly enhance responsiveness.
Connectivity Problems
Another common dilemma is related to network connections. Whether it’s Wi-Fi or cellular data, interruptions can arise from settings misconfigurations or hardware malfunctions. Users should verify network settings and consider rebooting their device to resolve these issues effectively.
Tools Needed for Mobile Repair
When it comes to fixing modern communication devices, having the right instruments is essential for achieving successful outcomes. These tools not only enhance efficiency but also ensure precision and safety during the process. Below, we explore the necessary equipment that any technician should have in their toolkit.
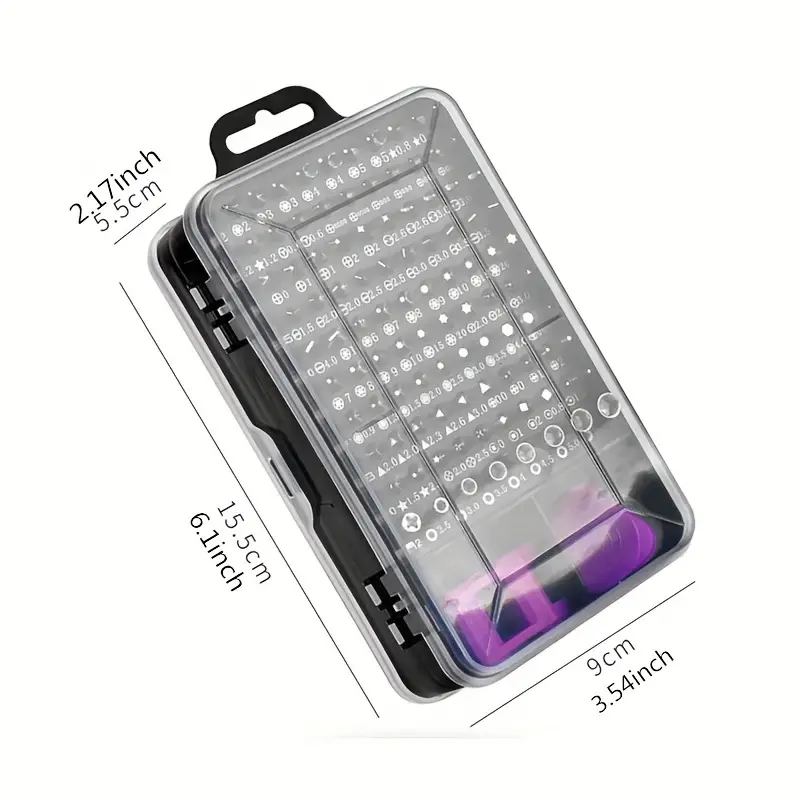
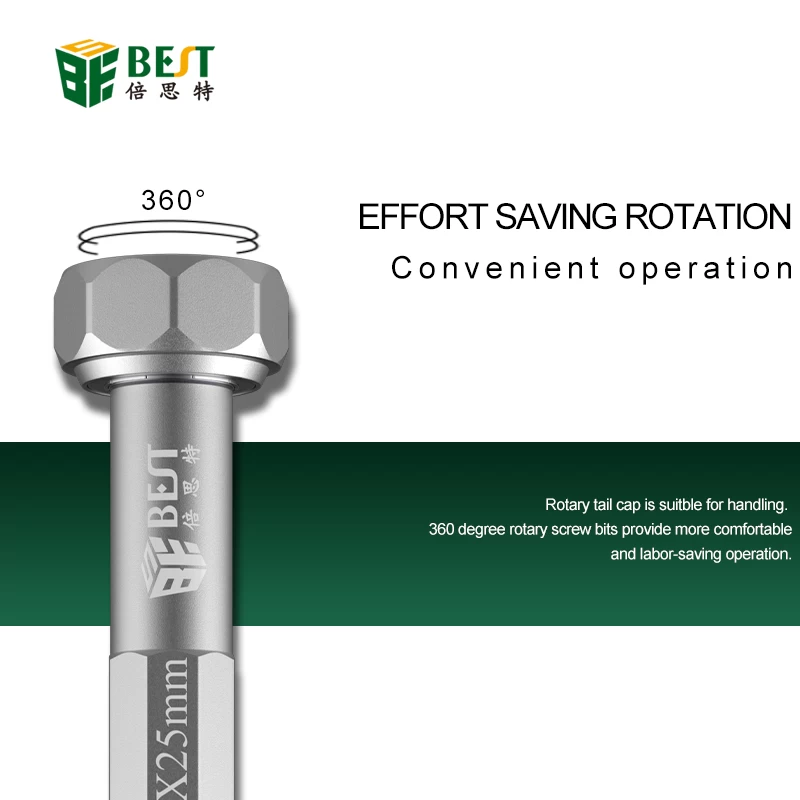
Screwdrivers: A variety of screwdrivers is vital, including both Phillips and flathead types. Specific sizes tailored to different devices allow for easy access to internal components without causing damage.
Pry Tools: These tools are designed to safely separate the outer casing from the internal parts. They help to avoid scratches and breakage while opening the device.
Spudgers: A spudger is an invaluable tool for manipulating delicate components without risk of short-circuiting. Its non-conductive nature makes it perfect for tasks that require precision.
Tweezers: Fine-point tweezers enable technicians to handle small parts easily, making them essential for intricate assembly or disassembly tasks.
Heat Gun or Mat: Applying heat can soften adhesives used in assembly, facilitating easier disassembly. A heat mat protects the surface and helps maintain a safe working environment.
Multimeter: This device measures voltage, current, and resistance, assisting in diagnosing electrical issues accurately. It’s a fundamental tool for any technician looking to troubleshoot effectively.
Magnifying Glass or Loupe: Close inspection of tiny components can prevent errors. A magnifying tool enhances visibility and detail recognition during intricate work.
By equipping oneself with these essential tools, any technician can improve their effectiveness and achieve better results in their endeavors. Proper preparation ensures that the repair process is streamlined and successful.
Step-by-Step Disassembly Guide
This section provides a comprehensive approach to safely dismantling your device. Following the outlined steps ensures that you can access internal components without causing damage, facilitating maintenance or upgrades. Each phase is designed to be straightforward, allowing for a systematic exploration of the device’s architecture.
Essential Tools Needed
Before beginning the disassembly, gather the following tools:
- Screwdriver Set: Precision screwdrivers are essential for removing tiny screws.
- Plastic Pry Tools: These help in gently lifting components without scratching surfaces.
- Antistatic Wrist Strap: This protects sensitive parts from static electricity.
- Tweezers: Useful for handling small screws and components.
Disassembly Steps
1. Power Down: Ensure the device is completely turned off to prevent any electrical damage.
2. Remove the Back Cover: Use a plastic pry tool to gently detach the rear panel, starting from a corner and working your way around.
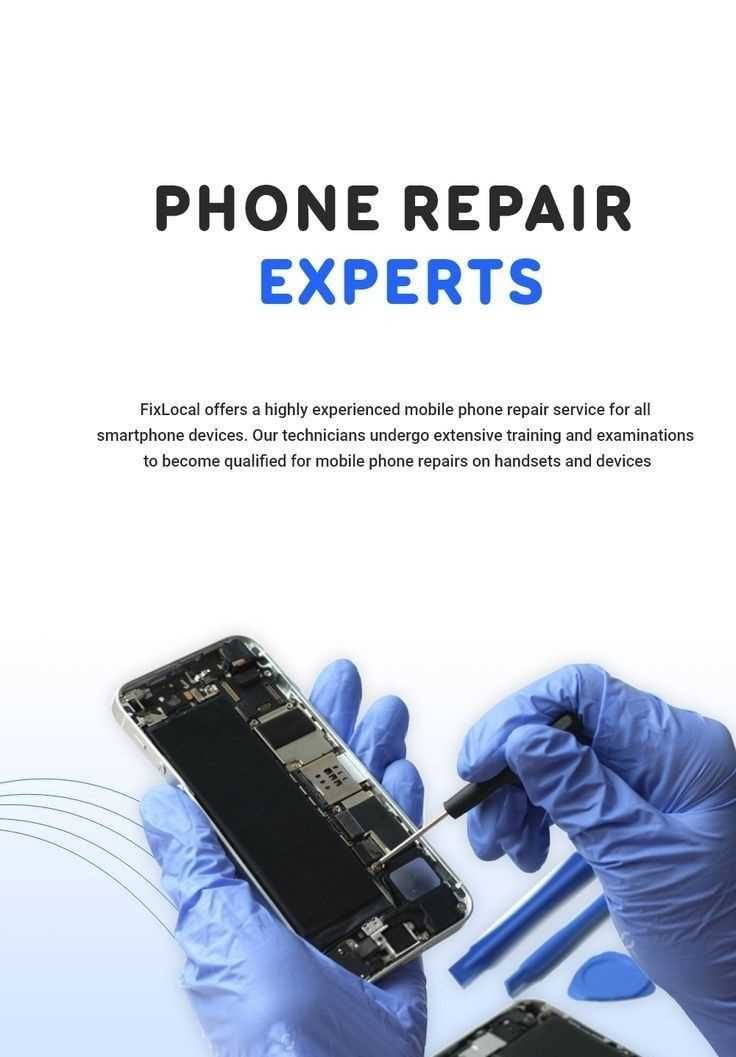
3. Unscrew Internal Components: Carefully unscrew any visible fasteners securing the internal parts, keeping track of each screw’s location.
4. Disconnect Connectors: Gently unplug any ribbon cables or connectors, taking care not to damage them.
5. Lift Out the Main Board: Once all connections are freed, carefully lift the main board, ensuring no components are still attached.
Following these steps will help you effectively access the inner workings of your device, paving the way for further adjustments or component replacements.
Replacing a Cracked Screen
When the display of your device suffers damage, it can disrupt your daily activities and compromise its functionality. Addressing a shattered or cracked interface is essential to restore both aesthetics and usability. This section will guide you through the essential steps to effectively replace the damaged display.
Tools and Materials Needed
Before starting the process, gather the necessary equipment. You will need a set of precision screwdrivers, a plastic prying tool, adhesive strips, and a new display unit. Having a clean, organized workspace will make the task smoother and more efficient.
Step-by-Step Instructions

1. Power Off and Remove the Back Cover: Begin by powering down your device completely. Carefully remove the back cover using a prying tool to access the internal components.
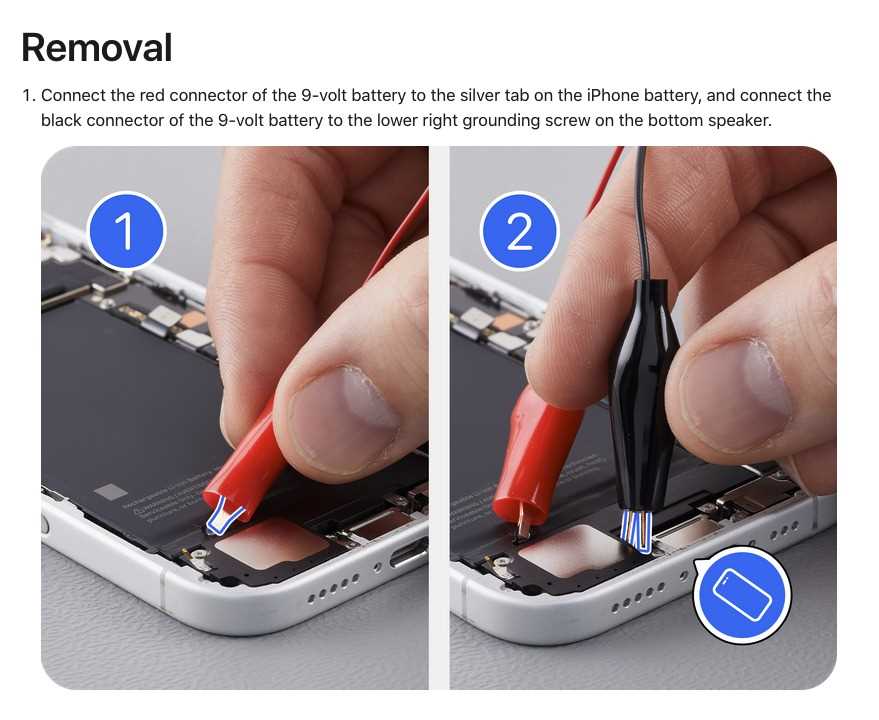
2. Disconnect the Battery: Locate and disconnect the battery to ensure safety during the replacement. This step prevents any electrical hazards.
3. Remove the Damaged Display: Unscrew the screws securing the cracked display. Gently use the prying tool to detach it from the frame, taking care not to damage other components.
4. Install the New Display: Align the new display with the frame and press it into place. Reattach the screws to secure it firmly.
5. Reconnect the Battery and Back Cover: Once the new screen is in place, reconnect the battery and replace the back cover. Ensure everything is secure before powering on the device.
By following these steps carefully, you can breathe new life into your device and enjoy its full functionality once again.
Battery Replacement Procedures
Replacing a power source is a crucial task that can restore optimal functionality to your device. Understanding the steps involved in this process ensures efficiency and safety. This section outlines the essential procedures to follow for a successful exchange.
Step 1: Gather Necessary Tools
Before beginning, collect all required tools, such as a screwdriver, plastic prying tool, and a new energy cell. Having everything at hand will streamline the process and minimize the risk of damage.
Step 2: Power Down the Device
Always turn off the device completely before starting. This precaution prevents any accidental short circuits and protects both you and the equipment.
Step 3: Open the Casing
Carefully remove the outer shell using a plastic prying tool. Work slowly to avoid cracking or scratching the surface. Each model may have different opening points, so consult a guide specific to your type for the best approach.
Step 4: Disconnect the Old Battery
Once the casing is removed, locate the power source and gently detach it from its connectors. Take care to follow any specific instructions regarding screws or clips that may secure it in place.
Step 5: Install the New Power Source
Position the new energy cell in the designated area and connect it to the device, ensuring a snug fit. Confirm that all connections are secure to prevent any operational issues.
Step 6: Reassemble the Device
Carefully replace the outer casing, making sure all clips or screws are reinstated correctly. A secure fit is essential for protecting the internal components.
Step 7: Power On and Test
Once reassembled, power on the device and check for functionality. Ensure that the new power source is charging properly and that all features operate as expected.
By following these straightforward steps, you can effectively exchange the energy cell and enhance the longevity of your gadget.
Fixing Software Glitches

Software inconsistencies can disrupt the functionality of your device, leading to frustrating experiences. Understanding the root causes and effective solutions is essential for restoring optimal performance.
Identifying the Issues
Common symptoms include freezing, unexpected shutdowns, and slow response times. To diagnose these problems, start by noting the circumstances under which they occur and check for recent updates that might have introduced new bugs.
Troubleshooting Steps
Begin with a simple restart, which often resolves temporary issues. If the problem persists, consider clearing the cache or reinstalling problematic applications. In severe cases, performing a factory reset may be the ultimate solution, but ensure to back up your data first.
Cleaning Your Mobile Device Internally
Over time, electronic devices can accumulate dust and debris within their enclosures, potentially affecting their performance. Maintaining a clean internal environment is essential for ensuring optimal functionality and longevity. This section will guide you through the steps necessary to effectively clean the inner components of your device.
Preparation is crucial before beginning the cleaning process. Make sure to power off the device and disconnect it from any power sources. Gather the necessary tools, such as a soft brush, microfiber cloth, and compressed air, to safely remove dust and particles without causing damage.
Once you have prepared, carefully open the casing according to the manufacturer’s guidelines. Be cautious with screws and components to avoid misplacement or damage. Gently use a soft brush to dislodge any stubborn particles, and follow up with a blast of compressed air to eliminate remaining dust from hard-to-reach areas.
After cleaning, reassemble the device with attention to detail, ensuring all components are securely fitted. Power it back on to check for proper functionality. Regular internal cleaning can prevent overheating and maintain overall performance, making it an important aspect of device maintenance.
Upgrading Internal Components Safely
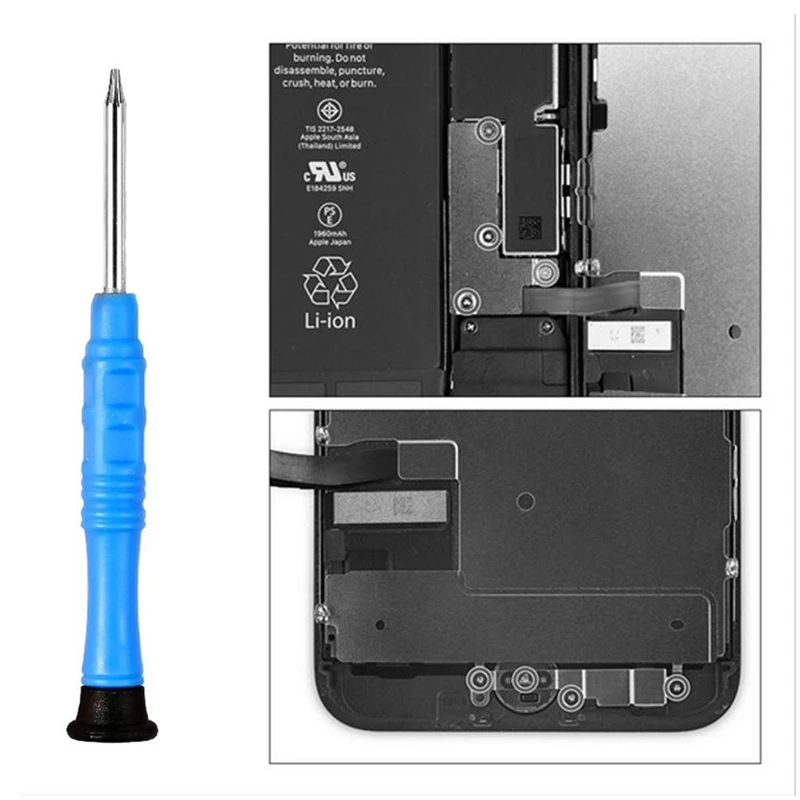
Enhancing the inner workings of devices can significantly improve their performance and longevity. This process requires careful consideration of various factors to ensure that upgrades are executed effectively and without damage. Understanding the intricacies involved is essential for achieving optimal results.
Preparation Steps
Before diving into the upgrade, it’s crucial to prepare adequately. This includes gathering the right tools and components, as well as familiarizing oneself with the device’s specifications.
| Item | Description |
|---|---|
| Tools | Precision screwdrivers, anti-static wrist strap, and spudgers |
| Components | RAM modules, SSDs, or batteries as required |
Execution and Testing
Once preparations are complete, carefully proceed with the installation. Afterward, it’s essential to conduct thorough testing to verify that the enhancements function as intended. Regular monitoring will help identify any potential issues early on.
Reassembling Your Mobile Phone
Reassembling a device requires careful attention to detail and a systematic approach to ensure all components are correctly positioned and secured. This stage is crucial for restoring functionality and preserving the integrity of the device.
Before starting, gather all necessary tools and components to streamline the process. Follow these steps to successfully complete the assembly:
| Step | Description |
|---|---|
| 1 | Begin by positioning the main circuit board back into the casing. |
| 2 | Reconnect any flex cables or connectors, ensuring a snug fit. |
| 3 | Carefully place the battery in its compartment and secure it. |
| 4 | Attach the rear cover, aligning it properly before snapping it into place. |
| 5 | Double-check all connections and ensure there are no loose parts. |
| 6 | Finally, power on the device to test its functionality. |
With patience and precision, you can effectively reassemble your device, bringing it back to its ultimate functionality.
Troubleshooting Network Connectivity Problems
When users encounter difficulties connecting to networks, it can lead to frustration and hinder productivity. This section focuses on identifying and resolving issues that disrupt seamless access to online services. By systematically addressing common connectivity challenges, individuals can restore their access and enhance their experience.
First, ensure that the device is within range of the network signal. Weak or obstructed signals can cause intermittent or complete loss of connectivity. If the connection is weak, consider moving closer to the router or access point.
Next, verify that the network settings are correctly configured. Check for any airplane mode activation, which disables all connections. Additionally, confirm that the Wi-Fi or data option is enabled, and ensure that the correct network credentials are entered.
If issues persist, restarting the device can often resolve temporary glitches. Rebooting clears the cache and refreshes network settings, which may restore connectivity. Furthermore, consider resetting the network settings if the problem continues, as this can eliminate misconfigurations.
Another important step is to examine the network hardware. Inspect routers and modems for proper functionality, ensuring that they are powered on and all indicator lights are operating as expected. A simple power cycle of these devices can often resolve connectivity issues.
Lastly, check for any service outages in the area. Service providers may experience disruptions that affect connectivity. Visiting the provider’s website or contacting customer support can provide insight into any ongoing issues.
Preventive Maintenance for Longevity
Ensuring the extended lifespan of electronic devices requires proactive measures that address wear and tear before issues arise. By incorporating routine care practices, users can enhance performance and minimize the likelihood of costly failures.
Here are essential strategies for maintaining devices effectively:
- Regular Cleaning: Dust and debris can accumulate in various components. Use a soft cloth and appropriate cleaning agents to keep surfaces and ports clear.
- Software Updates: Keep the operating system and applications up to date to improve security and functionality, reducing the risk of bugs and glitches.
- Battery Care: Avoid extreme temperatures and do not let the battery drain completely. Aim for a charge level between 20% and 80% for optimal health.
- Protective Accessories: Utilize cases and screen protectors to shield against drops and scratches, which can cause long-term damage.
- Storage Management: Regularly delete unnecessary files and apps to free up space, ensuring the device operates smoothly.
Implementing these practices will not only enhance performance but also contribute to the longevity of your gadget, allowing you to enjoy its features for years to come.