Comprehensive Guide to Craftsman Chainsaw Repair
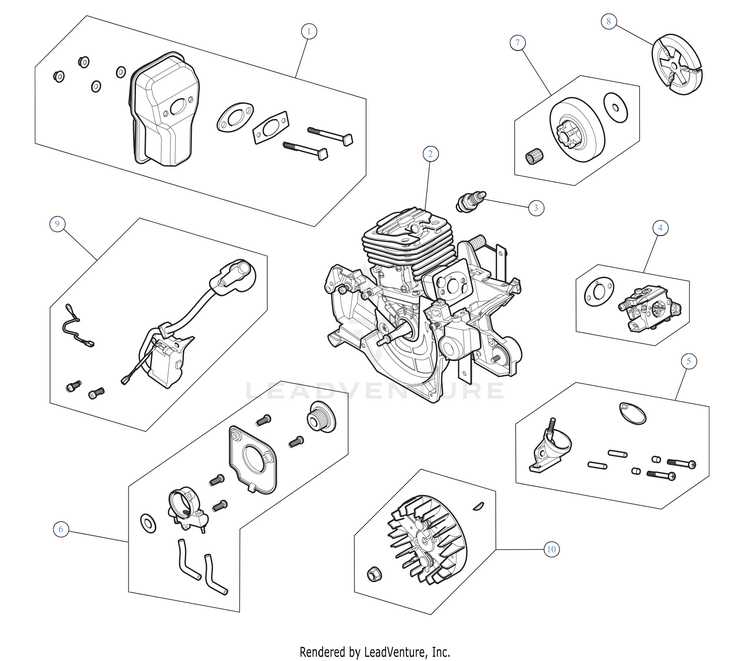
Maintaining your power tool is essential for ensuring its longevity and performance. Whether you’re tackling heavy-duty tasks or light yard work, understanding the intricacies of your device can make a significant difference. This section aims to provide you with comprehensive insights into troubleshooting, enhancing functionality, and addressing common issues.
By familiarizing yourself with the components and mechanisms of your equipment, you empower yourself to take on repairs with confidence. Knowledge of how to diagnose problems and implement solutions can save you time and money, allowing you to focus on your projects rather than unexpected breakdowns.
Throughout this guide, you will discover valuable tips and techniques designed to help you effectively manage your tool’s upkeep. From routine maintenance practices to specific problem-solving strategies, this resource serves as a go-to reference for both novice and experienced users alike.
Common Issues with Craftsman Chainsaws
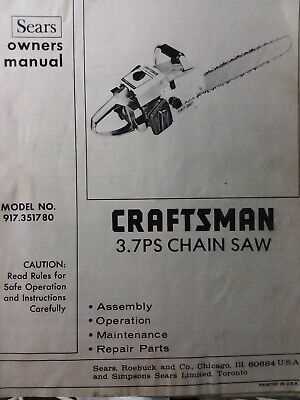
When operating power saws, users often encounter a range of typical challenges that can hinder performance and efficiency. Understanding these common problems is essential for ensuring smooth operation and longevity.
- Starting Difficulties: Many users face issues when attempting to ignite the engine, often caused by a faulty spark plug or fuel system problems.
- Engine Stalling: Unexpected engine shutdowns can occur due to clogged air filters or improper fuel mixtures.
- Excessive Vibration: Unusual shaking may indicate blade misalignment or worn-out components.
- Chain Slippage: If the cutting mechanism is not engaging properly, it could be due to a loose chain or inadequate tension settings.
- Fuel Leaks: Leaks can result from damaged fuel lines or improper sealing, posing safety hazards and reducing efficiency.
By identifying these frequent issues, operators can take proactive steps to maintain their equipment, ensuring reliable performance and minimizing downtime.
Essential Tools for Repairs
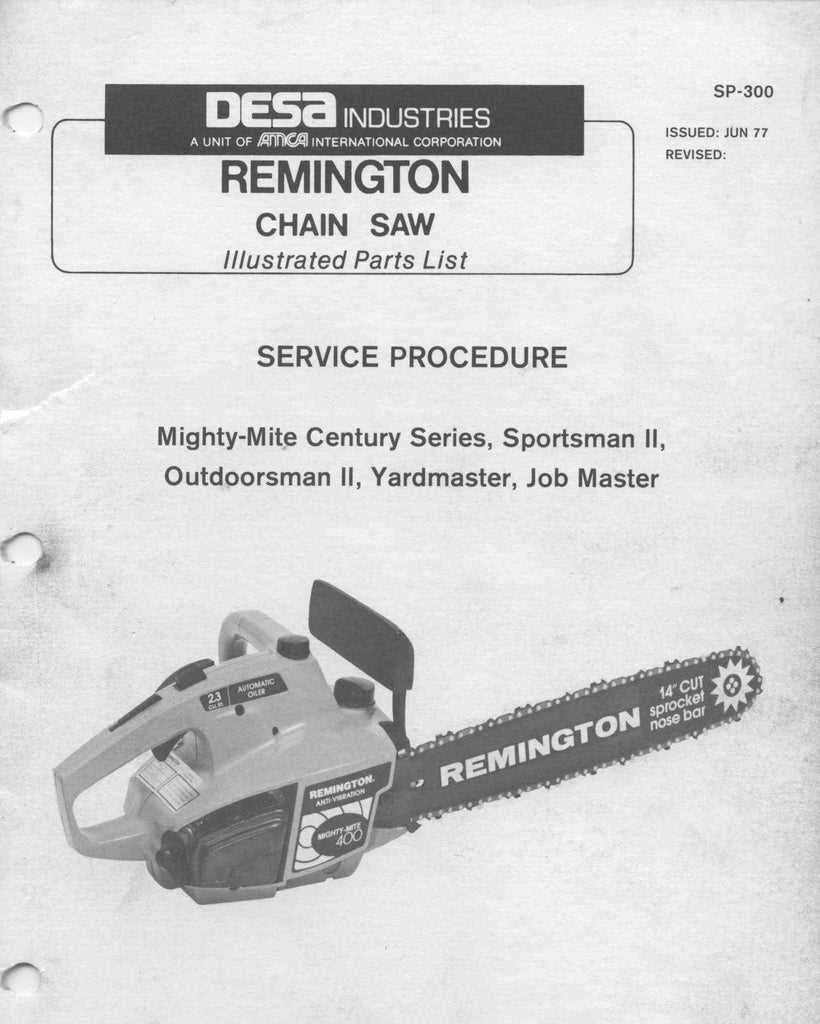
Maintaining and restoring equipment requires a set of fundamental instruments that ensure efficiency and effectiveness. Having the right gear not only streamlines the process but also enhances safety, allowing for a smoother experience when addressing issues.
Basic Tools Required
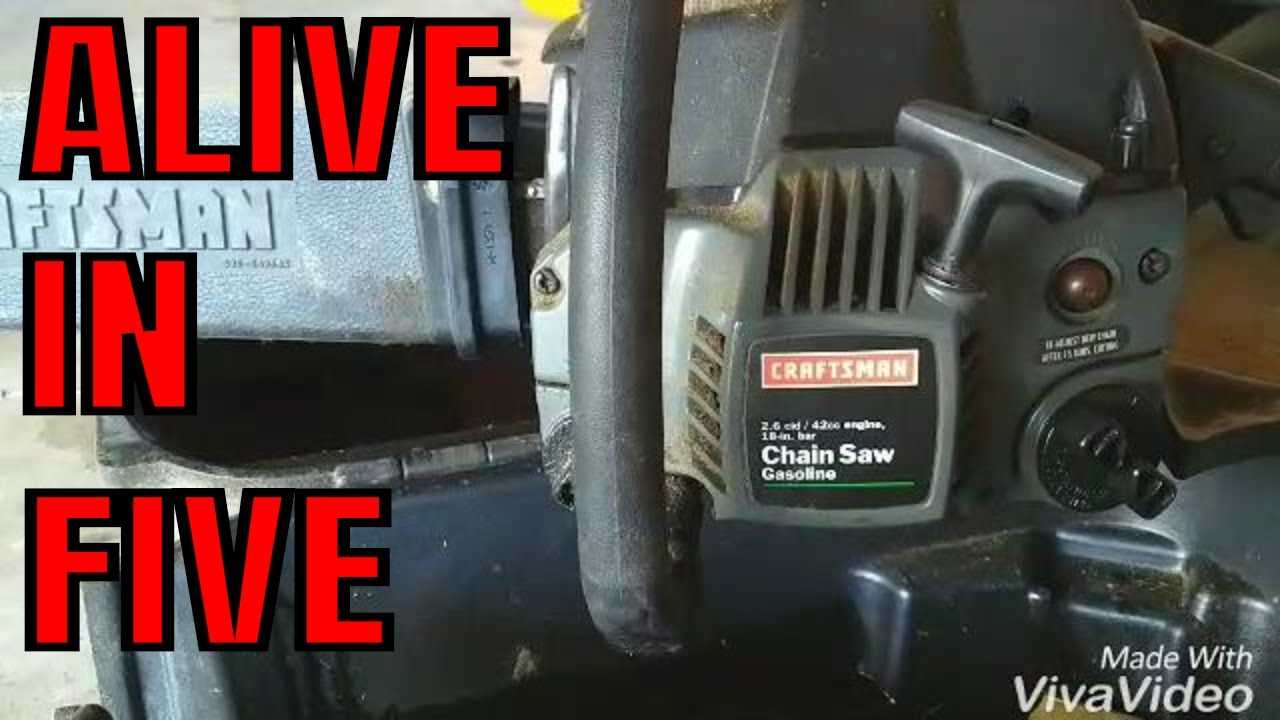
- Wrenches: A variety of sizes will help in loosening and tightening various components.
- Screwdrivers: Flathead and Phillips types are essential for accessing screws in different designs.
- Pliers: Useful for gripping and manipulating parts securely.
- Replacement Parts: Stocking common components ensures quick fixes when needed.
Safety Equipment
- Safety Goggles: Protect your eyes from debris during the work process.
- Gloves: Ensure a firm grip while safeguarding your hands from sharp edges.
- Ear Protection: Keep your hearing safe from loud noises produced during the repair.
Equipping yourself with these essential items will significantly improve your ability to handle maintenance tasks efficiently. Investing in quality tools can lead to longer-lasting performance and satisfaction in your projects.
Step-by-Step Maintenance Guide
Regular upkeep is essential for ensuring the longevity and optimal performance of your power tool. This guide outlines a straightforward process to keep your equipment in top shape, enhancing its efficiency and safety during use.
Essential Tools and Supplies
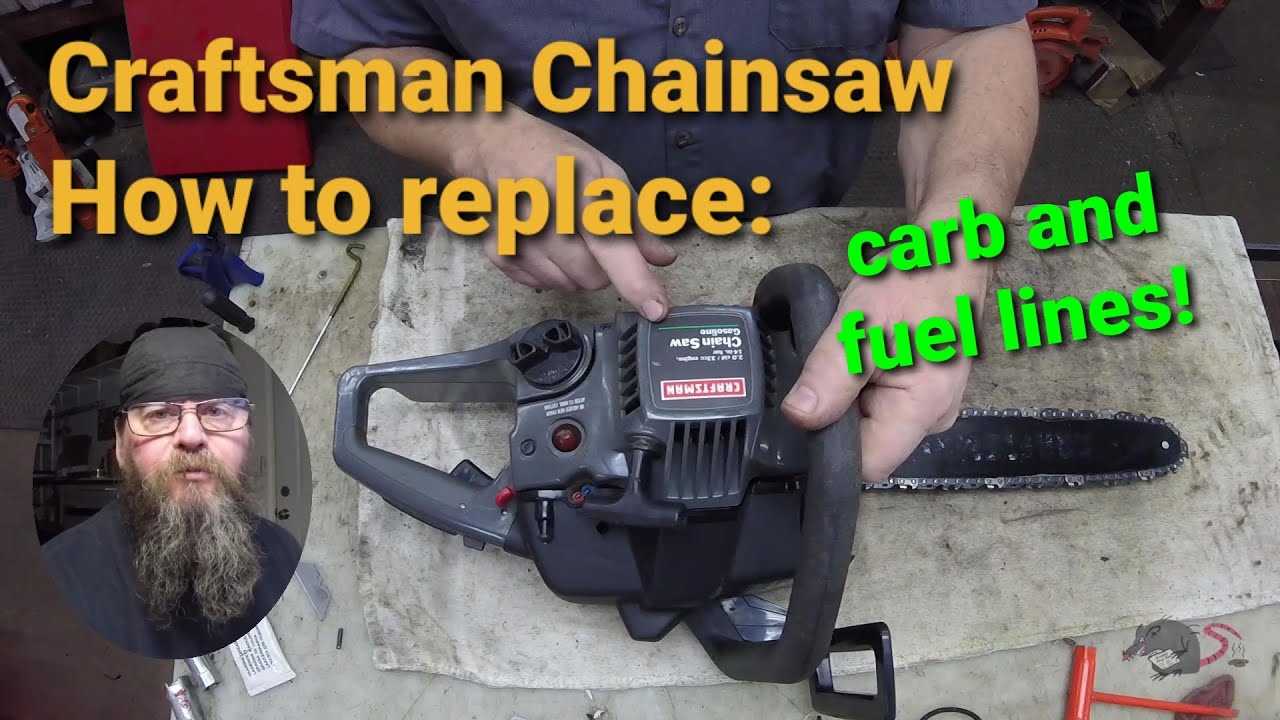
- Wrench set
- Screwdriver set
- Oil and fuel mix
- Cleaning brush
- Protective gloves and goggles
Maintenance Steps
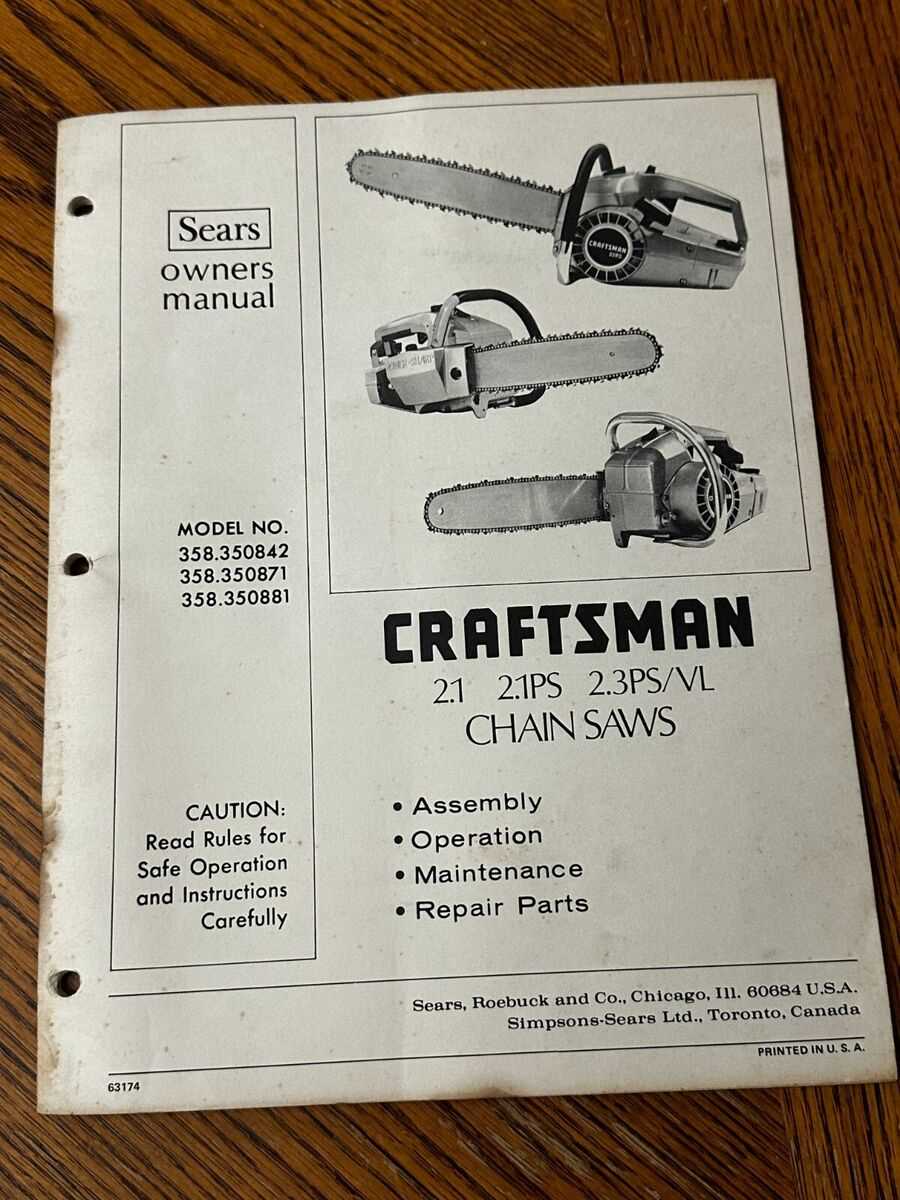
- Ensure the tool is turned off and disconnected from any power source.
- Inspect the air filter and clean or replace it as necessary to maintain airflow.
- Check the spark plug for wear; clean or replace it to ensure proper ignition.
- Examine the blade or cutting mechanism for damage or dullness; sharpen or replace as needed.
- Regularly clean the exterior surfaces with a brush to remove debris.
- Lubricate moving parts according to the manufacturer’s recommendations.
- Store in a dry, secure location to prevent rust and damage.
Following these steps will help maintain your equipment’s functionality, ensuring it operates smoothly and safely for years to come.
Understanding Chainsaw Components
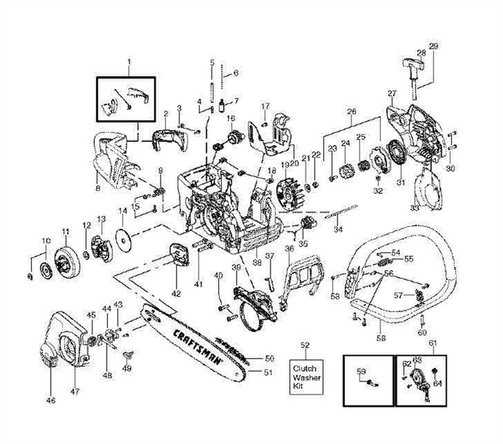
Every cutting tool consists of various parts that work in harmony to achieve efficient performance. Familiarizing oneself with these components is essential for effective use and maintenance. This knowledge helps in troubleshooting issues and ensuring the longevity of the equipment.
Main Elements of the Tool
At the core of any cutting instrument is the power unit, which generates the necessary force to perform its tasks. Surrounding this engine, you’ll find the housing, which protects the internal parts while providing a stable structure. Additionally, the cutting mechanism typically includes a bar and a series of teeth, designed for precision and durability.
Additional Features
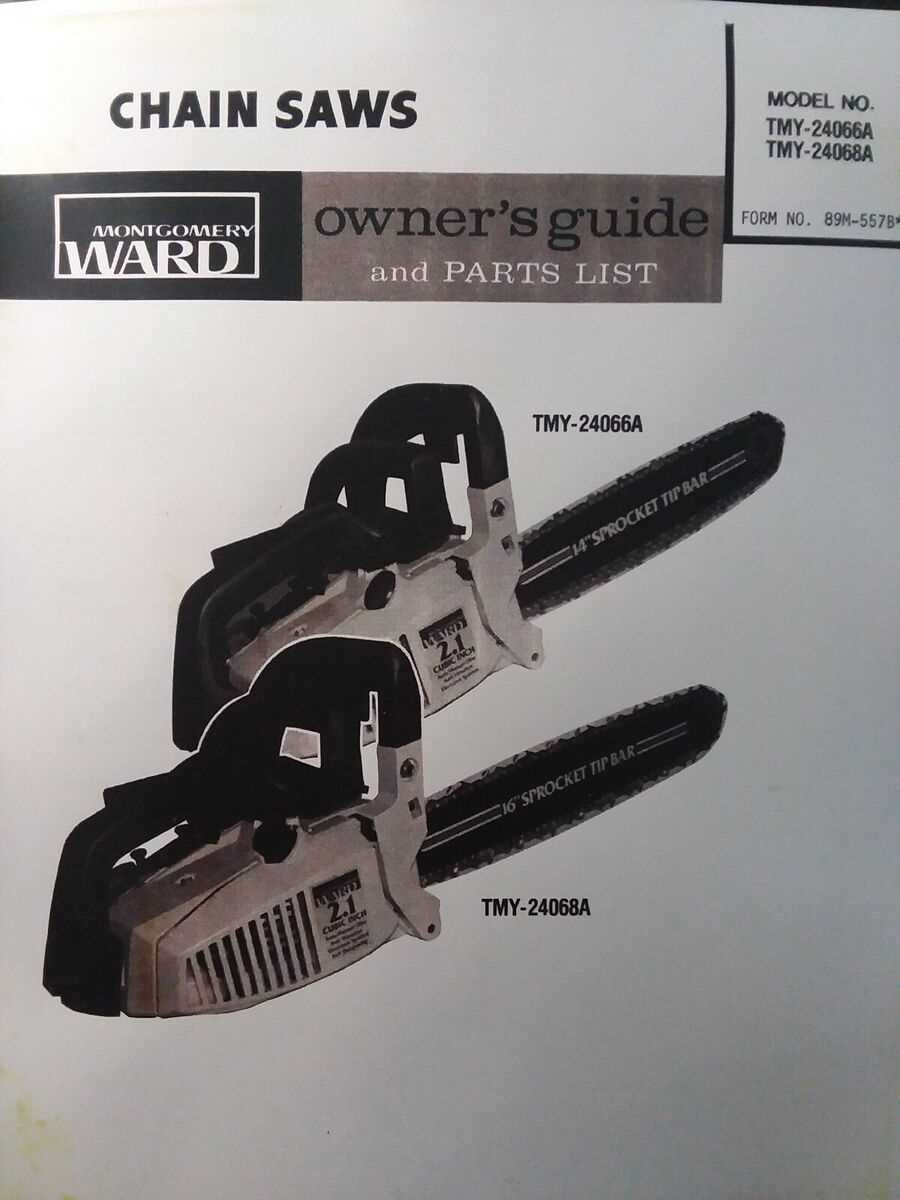
Supporting elements such as the fuel system, which supplies the energy needed for operation, and the lubrication system, essential for reducing friction, play crucial roles in functionality. Furthermore, safety features are integrated to minimize risks during use, enhancing the overall user experience.
Troubleshooting Starting Problems
Encountering difficulties when attempting to start a cutting tool can be frustrating. Identifying the root cause of these issues is essential for effective resolution. This section provides guidance on common obstacles and potential solutions to ensure smooth operation.
Firstly, check the fuel system. Insufficient or contaminated fuel can prevent the engine from igniting. Ensure the fuel is fresh and properly mixed if required. Additionally, inspect the fuel lines for blockages or leaks.
Next, examine the ignition system. A faulty spark plug can lead to starting issues. Remove the spark plug and inspect it for wear or damage. If necessary, replace it and ensure the connections are secure.
Another critical area to investigate is the air intake. A clogged air filter can restrict airflow, affecting performance. Clean or replace the filter as needed to promote optimal engine breathing.
Lastly, check the starter mechanism. Ensure that the pull cord functions correctly and that the recoil spring is intact. Address any mechanical issues to restore reliable starting capability.
Fuel System Cleaning Procedures

Maintaining optimal performance of power equipment requires regular attention to the fuel delivery system. Contaminants and deposits can accumulate over time, hindering the efficiency of the engine. This section outlines essential steps to effectively clean and restore the functionality of the fuel system.
Step 1: Prepare the Area
Ensure that the workspace is well-ventilated and free from flammable materials. Gather necessary tools such as a fuel line cleaning kit, safety goggles, and gloves to protect yourself during the process.
Step 2: Remove the Fuel Tank
Carefully detach the fuel tank from the unit. Dispose of any old fuel safely and responsibly. Inspect the tank for cracks or damage, which may need to be addressed before proceeding.
Step 3: Clean the Fuel Filter
Locate the fuel filter and remove it for cleaning. Use a suitable solvent to dissolve any buildup and rinse it thoroughly. If the filter appears excessively worn or damaged, consider replacing it.
Step 4: Clear the Fuel Lines
Utilize a cleaning tool to flush out the fuel lines. This step is crucial to eliminate any blockages that could impede fuel flow. After cleaning, ensure that the lines are free from obstructions.
Step 5: Reassemble and Test
Once all components are cleaned and inspected, reassemble the fuel system. Fill the tank with fresh fuel and run the equipment briefly to ensure everything is functioning smoothly. Monitor for any irregularities during operation.
Regular cleaning of the fuel system is essential for sustained performance and longevity. Following these procedures will help maintain efficiency and prevent potential issues related to fuel delivery.
Chain and Bar Replacement Tips
Replacing the cutting components of your equipment is essential for maintaining optimal performance and safety. This process can seem daunting, but with the right approach and knowledge, it becomes manageable and straightforward.
1. Select the Right Components: Ensure you choose the correct size and type of chain and bar compatible with your tool. Refer to the specifications provided by the manufacturer for accurate measurements.
2. Safety First: Always wear appropriate safety gear, such as gloves and goggles, to protect yourself during the replacement process. Disconnect the power source before beginning any work.
3. Clean Before Replacing: Remove any debris or dirt from the area where the new components will be installed. A clean working environment helps prevent future issues.
4. Proper Alignment: When attaching the new chain and bar, ensure they are properly aligned. Misalignment can lead to poor performance and increased wear.
5. Tension Adjustment: After installation, adjust the tension of the chain according to the manufacturer’s guidelines. A correctly tensioned chain improves cutting efficiency and reduces the risk of derailment.
6. Regular Maintenance: Keep a regular maintenance schedule for checking the condition of your components. This practice extends the lifespan of both the chain and bar, ensuring consistent performance.
Safety Precautions During Repairs
Ensuring safety while performing maintenance tasks is crucial to prevent accidents and injuries. Following specific guidelines can significantly reduce risks and create a secure working environment. It is essential to be aware of the potential hazards and take appropriate measures to mitigate them.
General Safety Guidelines
- Always wear appropriate personal protective equipment, including gloves, goggles, and ear protection.
- Work in a well-ventilated area to avoid inhaling harmful fumes.
- Ensure the work area is clean and organized to prevent tripping hazards.
- Keep all tools in good condition and use them as intended.
Preparation Steps
- Disconnect the power source before starting any maintenance work.
- Read all instructions and guidelines related to the equipment to be serviced.
- Have a first aid kit readily available in case of emergencies.
- Inform someone of your whereabouts while performing tasks, especially if working alone.
How to Sharpen the Chain
Maintaining the cutting edge of your equipment is essential for optimal performance. A well-sharpened cutting element ensures efficiency and safety while working, making it crucial to learn the proper techniques for this task.
Necessary Tools
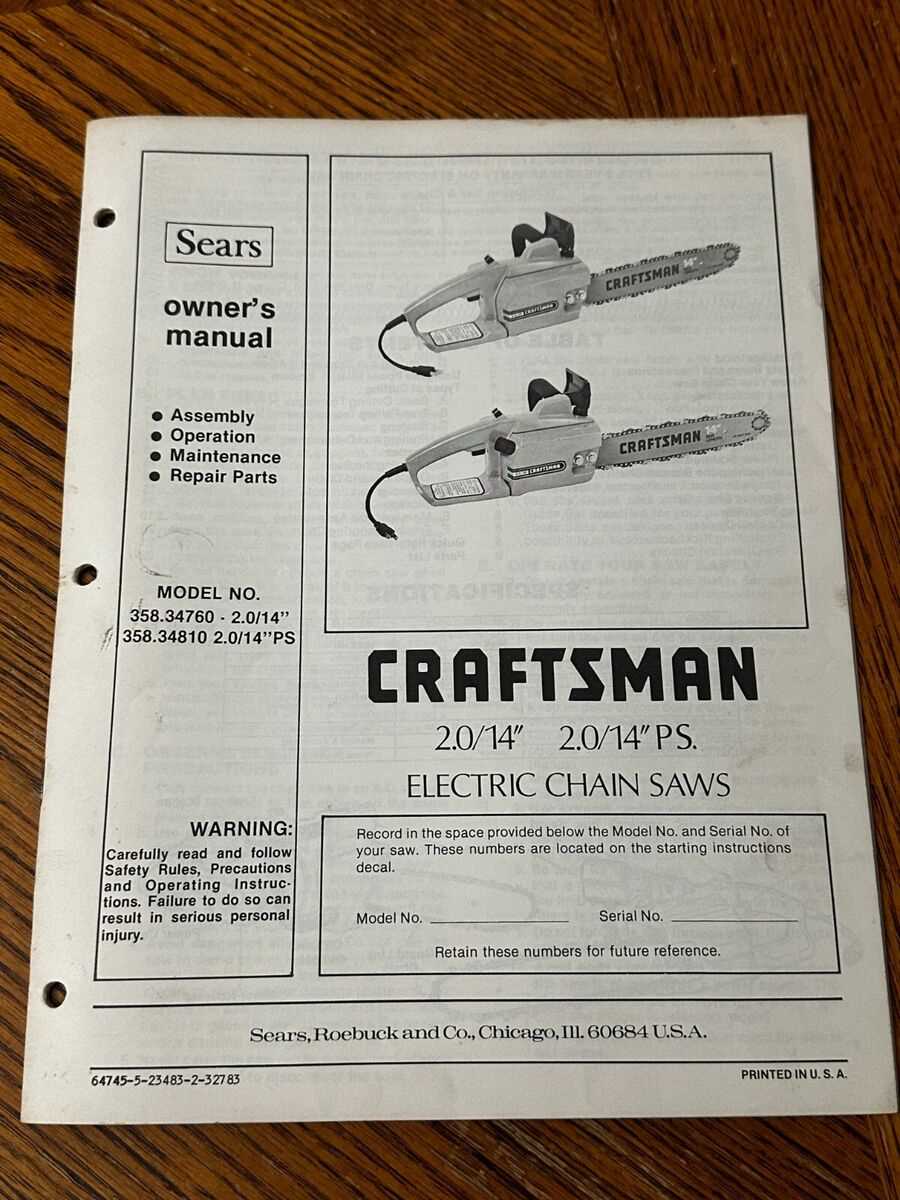
- File guide
- Flat file
- Round file
- Depth gauge tool
- Protective gloves
Steps to Sharpen
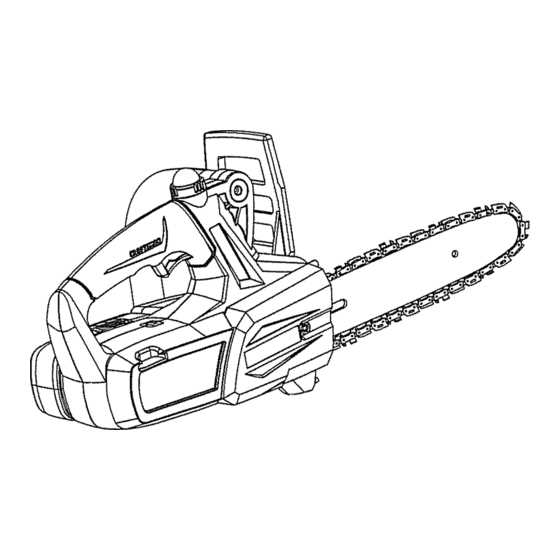
- Secure the tool on a stable surface to prevent movement.
- Identify the angle of the cutting teeth. Typically, a 30-degree angle is standard.
- Using the round file, position it in the teeth at the correct angle.
- Apply even pressure while moving the file in one direction. Repeat this for each tooth.
- Switch to the flat file to level the depth gauge. Ensure it is not too low or too high.
- Clean the area to remove any metal shavings and debris.
Regular sharpening will prolong the lifespan of the cutting equipment and enhance its performance significantly.
Finding Replacement Parts Easily
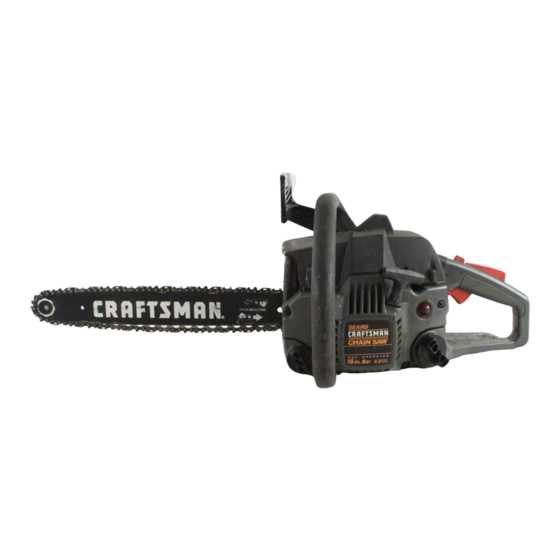
Locating components for your equipment can be a straightforward process if you know where to look. This section aims to guide you through effective strategies to find the necessary items without hassle.
Online Resources
The internet offers a wealth of options for sourcing parts. Here are some popular avenues:
- Manufacturer Websites: Check the official site for parts specific to your model.
- Retailer Platforms: Websites like Amazon or eBay often have a wide selection of items.
- Specialized Stores: Some online shops focus solely on equipment components, ensuring a dedicated selection.
Local Options
If you prefer to shop in person, consider these local resources:
- Home Improvement Centers: Stores like Home Depot or Lowe’s frequently carry popular parts.
- Tool Rental Shops: These establishments often sell spare components and can provide advice.
- Local Mechanics: Reach out to repair professionals; they might have extra parts available.
Seasonal Care for Optimal Performance
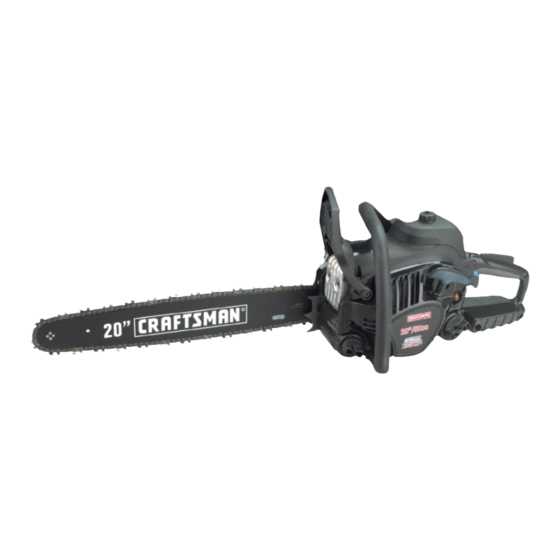
Maintaining your outdoor cutting tool throughout the year ensures it operates efficiently and lasts longer. By focusing on specific care tasks tailored to each season, you can enhance performance and prevent potential issues that may arise due to neglect.
During the spring, it’s crucial to inspect all components thoroughly. This includes checking the bar and chain for wear, replacing filters, and ensuring the fuel system is clean. As temperatures rise, regular lubrication of moving parts becomes essential.
Summer calls for heightened attention to cooling systems. Overheating can lead to severe damage, so keeping air intakes clear and ensuring proper fuel mixture is vital. Regular cleaning will help maintain optimal airflow.
As autumn approaches, focus on preparing for colder weather. Draining any remaining fuel and cleaning the components will help prevent clogging and rust. This is also the perfect time to sharpen the cutting elements for the upcoming winter tasks.
Winter maintenance should involve storage considerations. Store the equipment in a dry, sheltered area to avoid freezing temperatures and moisture accumulation. Regular checks during this season will help detect any issues early, ensuring readiness for spring use.
| Season | Maintenance Task |
|---|---|
| Spring | Inspect components and replace filters |
| Summer | Ensure cooling systems are clear |
| Autumn | Prepare for winter by draining fuel |
| Winter | Store in a dry area and check regularly |