Guide to Repairing Bathroom Mixer Taps
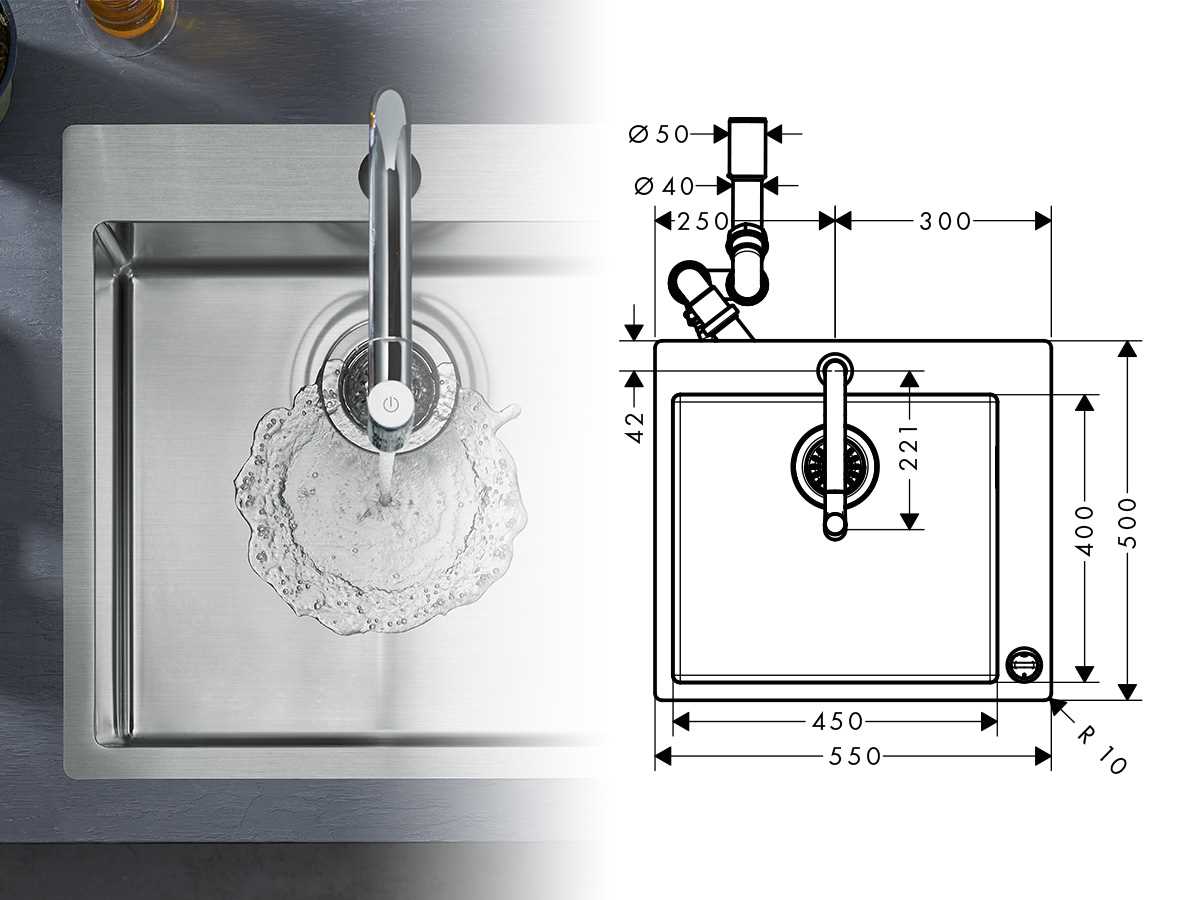
Understanding the functionality of water control fixtures in your home is essential for maintaining a comfortable and efficient living space. Over time, these fixtures may encounter problems that affect their performance, leading to leaks or inconsistent water flow. Knowing how to address these issues can save you time and money, allowing you to tackle simple repairs yourself.
In this section, we will explore various methods and techniques for troubleshooting common problems with these essential plumbing components. By following straightforward steps and employing the right tools, you can restore proper functionality without the need for professional assistance. Whether you are a seasoned DIY enthusiast or a beginner, this guide aims to empower you with the knowledge necessary for effective maintenance.
Bathroom Mixer Tap Repair Guide
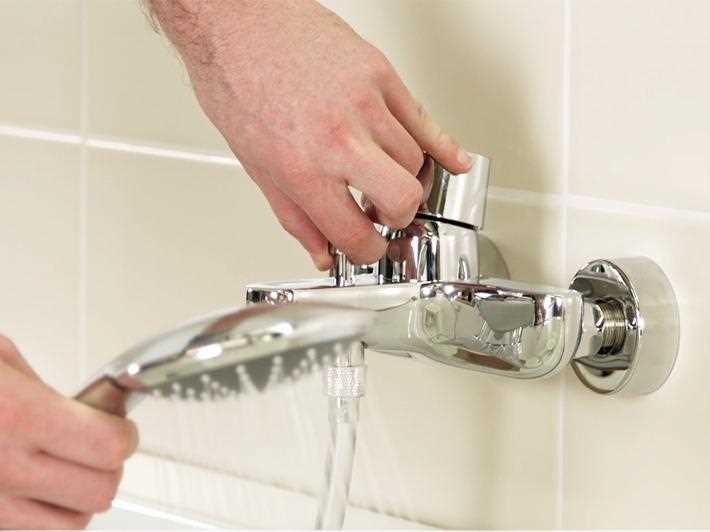
This section provides a comprehensive overview of the steps necessary to address common issues associated with water control fixtures. Whether dealing with leaks, inconsistent flow, or temperature regulation problems, understanding the essential processes can help restore functionality efficiently.
Before beginning, ensure that you have the appropriate tools and replacement parts on hand. Familiarize yourself with the structure of the fixture, as this will aid in identifying the source of any issues.
To start, turn off the water supply to prevent any spills. Carefully disassemble the fixture to access internal components. Inspect seals, cartridges, and connections for wear or damage. If any part appears faulty, replace it with a suitable alternative. Reassemble the fixture in the reverse order, ensuring all connections are secure.
Finally, turn the water supply back on and test the fixture for leaks or irregularities. If everything functions correctly, your task is complete; otherwise, revisit the previous steps to ensure proper installation.
Common Problems with Mixer Taps
Issues with mixing fixtures often arise, leading to various inconveniences for users. These challenges can stem from multiple factors, including wear and tear, incorrect installation, or simple malfunctions. Understanding these common difficulties can help in diagnosing problems and finding effective solutions.
One frequent concern is leaking. This can occur when seals or washers degrade over time, allowing water to escape. In addition, users might notice temperature inconsistency, where the water unexpectedly shifts from hot to cold or vice versa. Such fluctuations can be frustrating and often point to underlying issues within the unit.
Another prevalent issue is low water pressure. This can be caused by clogged aerators or supply lines, leading to a reduced flow rate. Additionally, users may encounter strange noises, such as rattling or hissing, which can indicate problems with internal components.
Lastly, hard-to-turn handles can signify buildup or a need for lubrication, impacting overall functionality. Addressing these concerns promptly can help maintain optimal performance and extend the lifespan of the fixture.
Tools Needed for Repair
When addressing issues with water control fixtures, having the right instruments is essential for a successful resolution. Proper tools not only facilitate the task but also ensure safety and efficiency throughout the process.
Essential Instruments
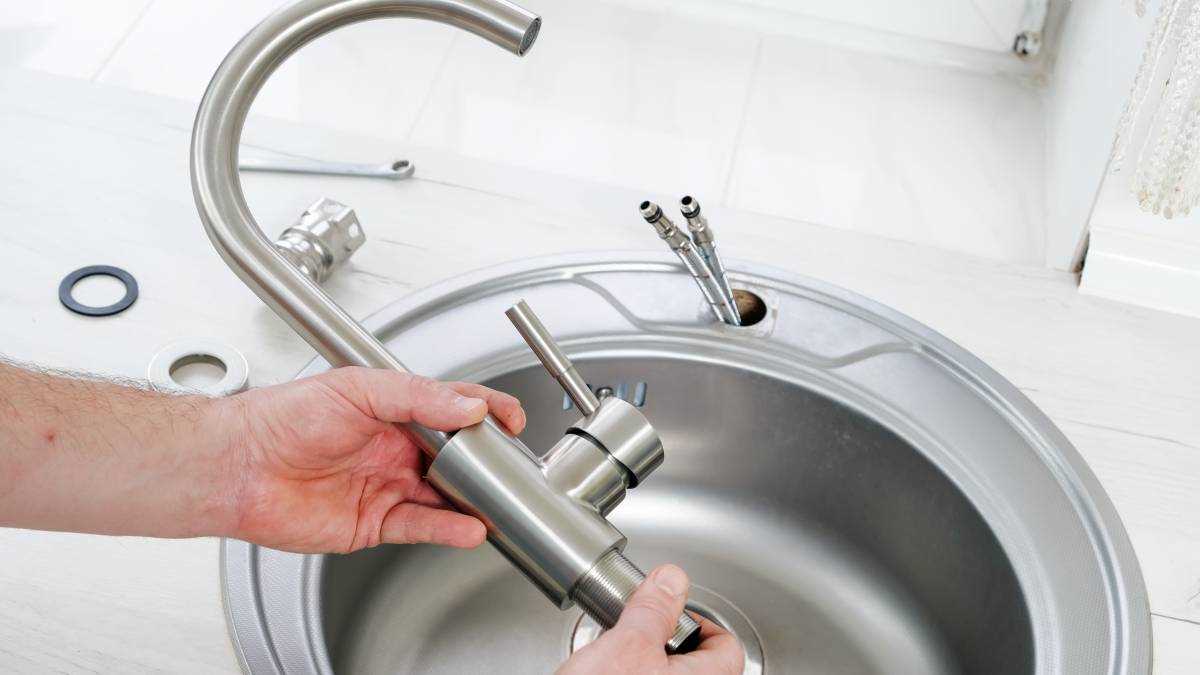
- Adjustable Wrench: Useful for loosening and tightening fittings.
- Screwdrivers: Both flathead and Phillips types are necessary for various screws.
- Pliers: Ideal for gripping and bending components as needed.
- Utility Knife: Helpful for cutting tape or seals if required.
- Tape Measure: Important for measuring distances and ensuring proper fit.
Additional Supplies
- Sealant: Necessary for preventing leaks after assembly.
- Cleaning Cloths: To keep surfaces clean and dry during work.
- Bucket: To catch any excess water during the process.
Identifying the Source of Leaks
Locating the origin of water escape is essential for effective resolution. Understanding common causes and symptoms can aid in pinpointing the issue and preventing further damage.
Common Symptoms of Leaks
- Visible water pooling around fixtures
- Unusual water stains on surfaces
- Increased water bills without a clear reason
- Unpleasant odors indicating moisture buildup
Steps to Identify the Source
- Inspect the area for moisture signs.
- Examine connections and fittings for wear or damage.
- Check for any cracks or deterioration in surrounding materials.
- Monitor water flow patterns and listen for unusual sounds.
Taking these steps can lead to effective identification, allowing for timely action and preventing potential issues from escalating.
Step-by-Step Disassembly Process
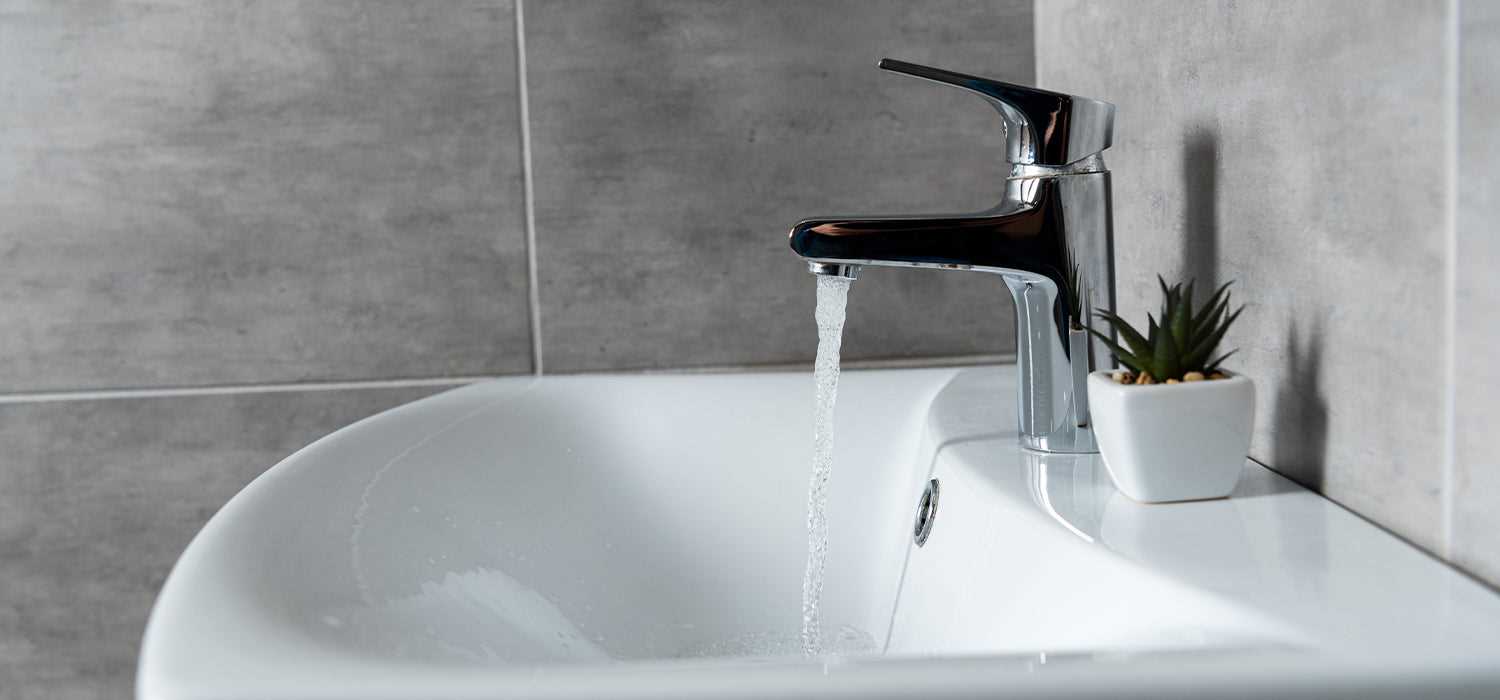
This section outlines a systematic approach to dismantling a fixture efficiently. Understanding the proper sequence of steps is crucial to avoid damage and ensure a smooth reassembly process later. Careful attention to detail will help maintain the integrity of the components involved.
Preparation and Tools Needed
Before beginning, gather the necessary tools such as a wrench, screwdriver, and a container for small parts. Make sure to turn off the water supply to prevent any spills during disassembly. A clean workspace will help keep everything organized and make it easier to locate components as you work.
Disassembly Steps
Start by removing any decorative covers or caps to expose the screws. Use the appropriate screwdriver to loosen and take out the screws. Carefully lift off the main unit, ensuring that no pieces are left behind. If any components are stubborn, gently wiggle them to free them without applying excessive force. Once disassembled, place the parts in your container to prevent misplacement.
Replacing Worn Out Washers
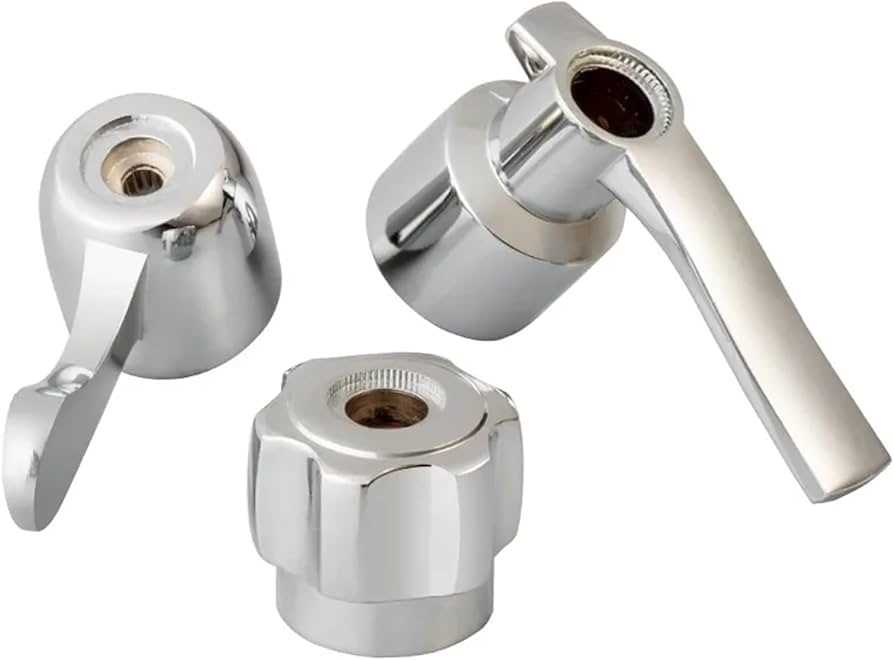
Over time, components within water flow devices may wear down, leading to leaks and inefficient performance. Replacing these essential parts can restore proper functionality and prevent further issues.
Here are the steps to effectively replace worn components:
- Turn off the water supply to prevent spills.
- Remove the handle by unscrewing it carefully.
- Take out the old component, noting its placement.
- Replace it with a new part of the same size and type.
- Reassemble the device and restore the water supply.
Regular maintenance can enhance longevity and performance, ensuring smooth operation for years to come.
Fixing a Dripping Faucet
A persistent leak from a water outlet can be both annoying and wasteful. Addressing this issue typically involves identifying the underlying cause and implementing appropriate solutions. Common culprits include worn-out components that can easily be replaced with minimal tools and effort.
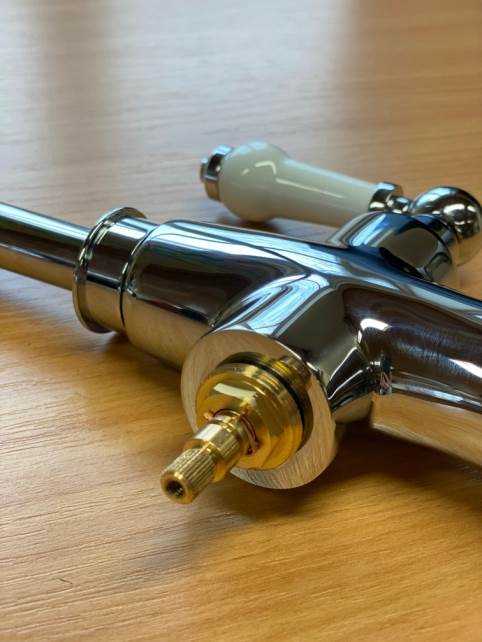
To begin, turn off the water supply to prevent any further leakage during the process. Next, remove the decorative cover, if applicable, to access the internal mechanisms. Carefully examine the washer, O-ring, or cartridge for signs of wear or damage. If any components appear frayed or hardened, replacing them is essential to restoring proper function.
After replacing the faulty parts, reassemble the fixture and turn the water supply back on. Test the outlet to ensure that the dripping has ceased. Regular maintenance and prompt attention to minor issues can help prolong the lifespan of your plumbing fixtures.
Cleaning Mineral Deposits
Mineral buildup can be a common issue in plumbing fixtures, often caused by hard water. This accumulation not only affects the appearance but can also hinder functionality. Regular maintenance is essential to prevent these deposits from becoming stubborn and difficult to remove.
To effectively clean mineral deposits, begin by using a mixture of vinegar and water. The acidity in vinegar helps dissolve the buildup. Soak a cloth in the solution and wrap it around the affected areas, allowing it to sit for several minutes. For tougher spots, a soft-bristled brush can be employed to gently scrub the surface without causing damage.
After scrubbing, rinse the area thoroughly with clean water to remove any remaining solution and loosened debris. Dry the surface with a clean cloth to prevent new deposits from forming. Implementing this cleaning routine regularly will ensure the longevity and performance of your plumbing fixtures.
Reassembling the Mixer Tap
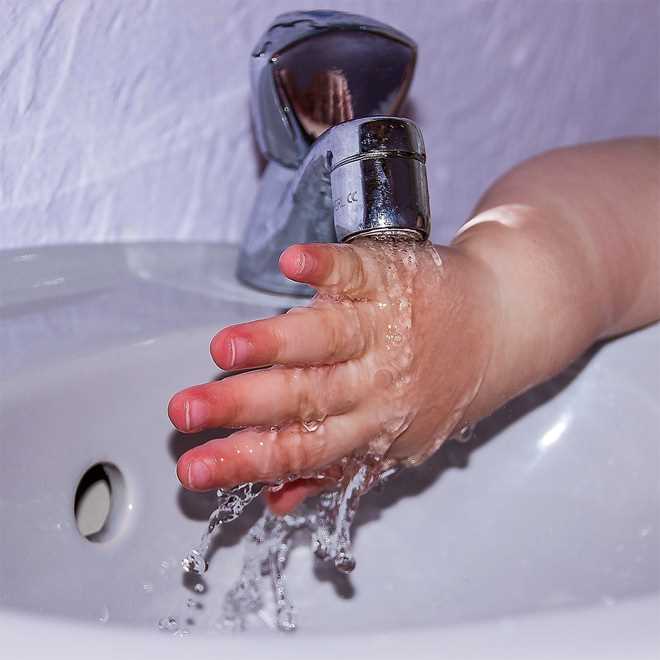
Putting everything back together after disassembly is a crucial step that ensures functionality and prevents leaks. This process involves careful alignment and secure fitting of each component. Following the correct sequence is essential for achieving optimal performance.
Steps for Assembly
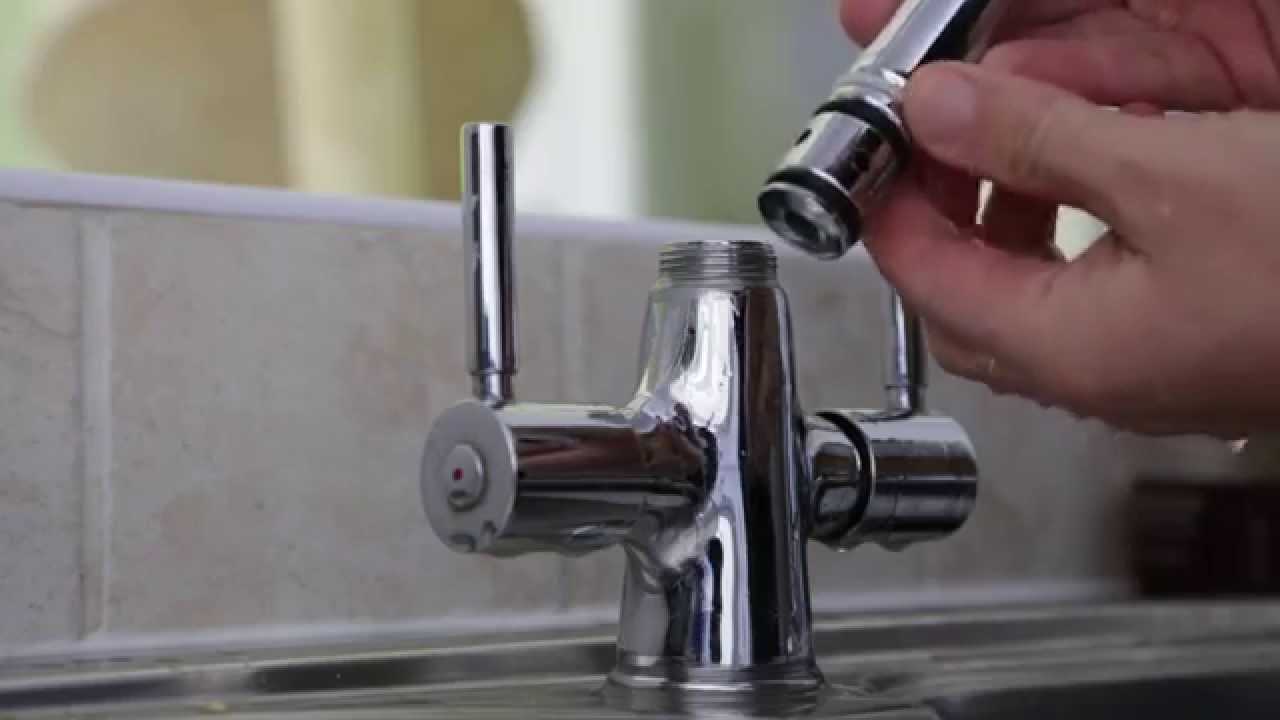
Begin by ensuring all parts are clean and free from debris. Then, follow these steps:
| Step | Description |
|---|---|
| 1 | Insert the cartridge into the body, aligning it properly. |
| 2 | Attach the retaining nut and tighten it securely. |
| 3 | Reconnect any supply lines, ensuring they are firmly in place. |
| 4 | Reattach the handle, making sure it operates smoothly. |
| 5 | Test for leaks by turning on the water supply slowly. |
Final Checks
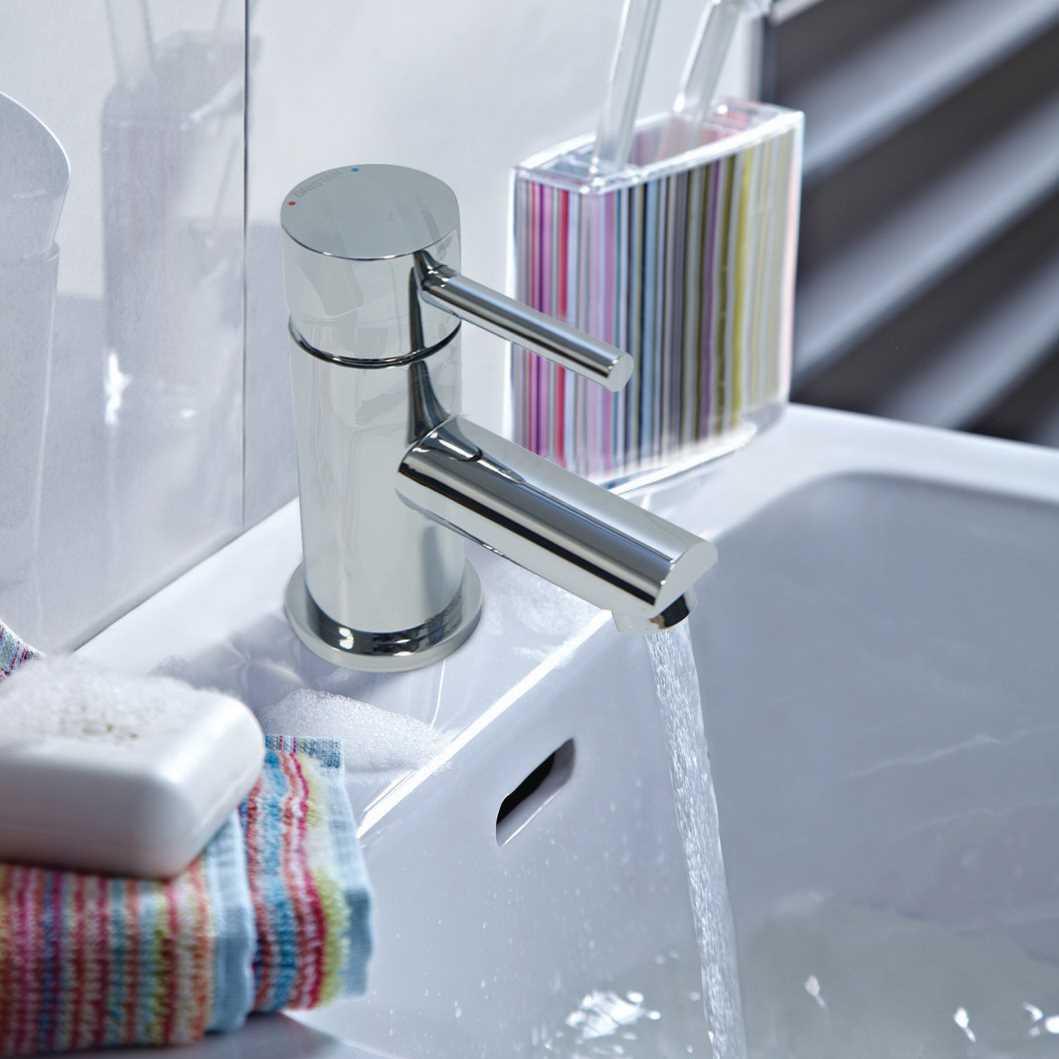
After reassembly, conduct a thorough inspection to confirm that all parts are secured. Operating the mechanism will help identify any issues. If everything functions correctly, you have successfully completed the assembly.
Testing for Proper Functionality
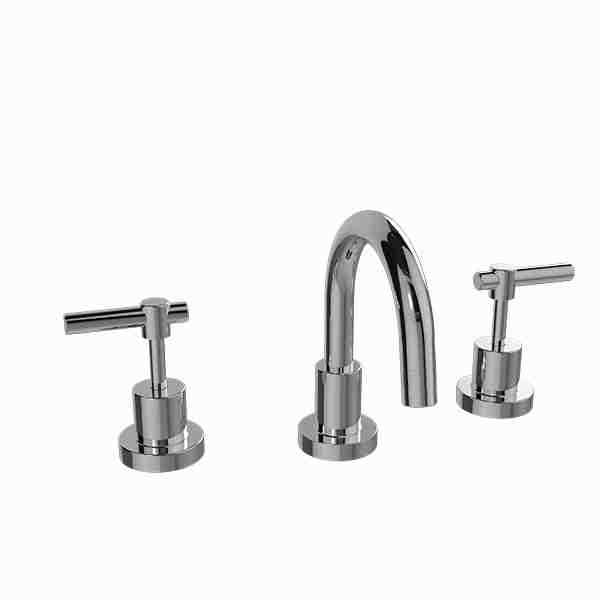
Ensuring the correct operation of water flow and temperature control is essential for a well-functioning fixture. This section focuses on evaluating performance through straightforward assessments that can highlight any irregularities in operation.
Visual Inspection

Begin with a thorough visual examination. Look for any visible leaks, cracks, or signs of wear. Ensure that all components are securely fastened and free of corrosion. Addressing these issues early can prevent further complications.
Flow and Temperature Check
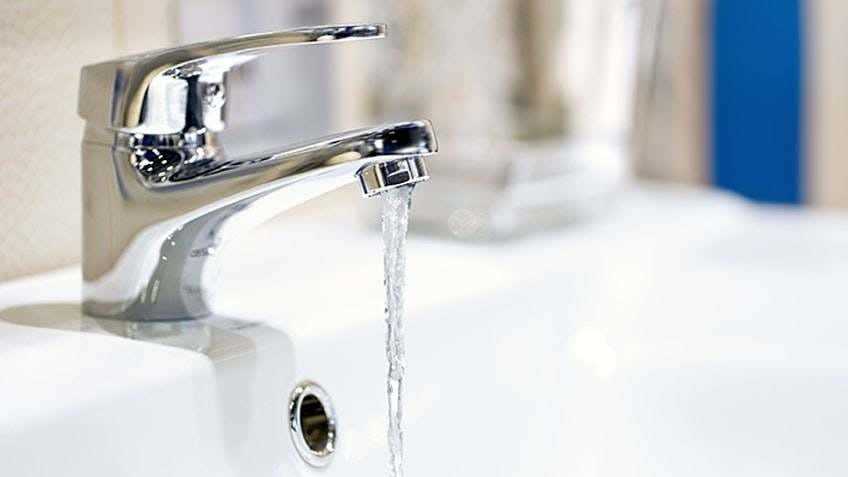
Next, test the water output. Turn the control mechanism to both hot and cold settings, observing the flow rate and temperature consistency. A steady stream and appropriate temperature range are crucial indicators of proper functionality. If discrepancies arise, further investigation may be necessary.
Preventive Maintenance Tips
Regular upkeep is essential to ensure the longevity and efficiency of your plumbing fixtures. By adopting simple practices, you can prevent future issues and maintain optimal performance. This section offers practical advice to help you safeguard your installations.
Routine Checks
Conducting regular inspections can identify potential problems before they escalate. Look for signs of wear and tear, leaks, or corrosion. Addressing these issues early can save time and resources in the long run.
Cleaning Techniques
Proper cleaning is crucial for maintaining the functionality of your fixtures. Use gentle, non-abrasive cleaners to avoid damaging surfaces. Regularly remove mineral deposits and buildup to ensure smooth operation.
| Task | Frequency | Notes |
|---|---|---|
| Inspect for leaks | Monthly | Check seals and connections |
| Clean surfaces | Weekly | Use non-abrasive cleaners |
| Check water flow | Quarterly | Ensure no blockages are present |
When to Call a Professional
Recognizing the right moment to seek expert assistance can save time, money, and frustration. While some issues can be handled independently, others may require the skills and knowledge of a qualified technician.
Consider reaching out to a specialist in the following situations:
- The problem persists despite your attempts to resolve it.
- You notice unusual noises or leaks that seem serious.
- There are signs of significant damage or wear.
- Tools or techniques beyond your expertise are necessary.
- Safety concerns arise, particularly with plumbing systems.
Consulting with a professional can ensure that the issue is addressed correctly and efficiently, providing peace of mind and long-lasting results.