Comprehensive Guide to Electric Dryer Repair
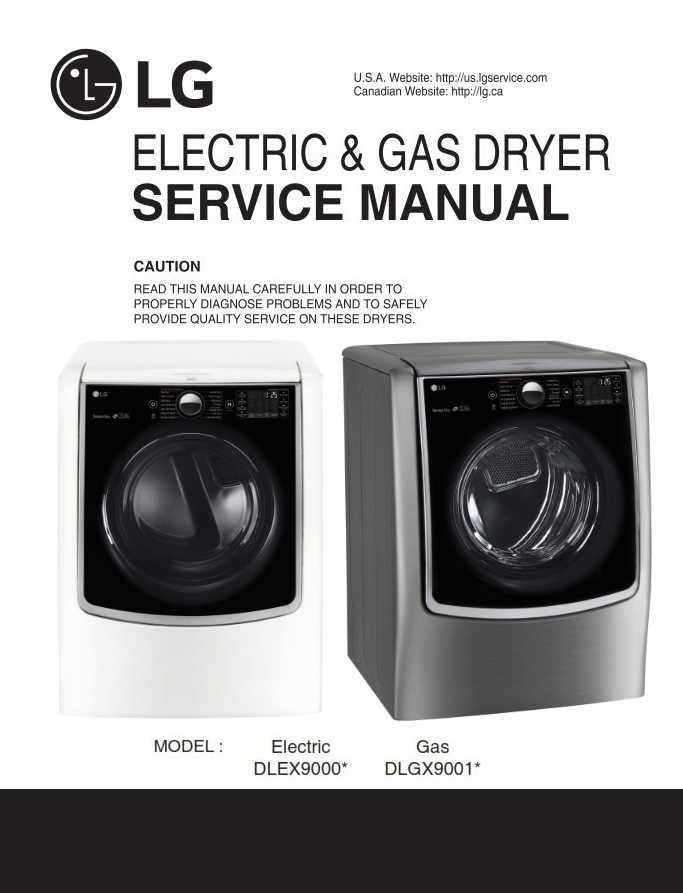
Maintaining household appliances can often seem daunting, but with the right information, it becomes manageable. This section aims to provide you with essential insights and techniques for diagnosing and resolving typical problems that may arise with your machine. Understanding its components and functions is crucial to ensuring optimal performance.
From understanding common symptoms to exploring practical solutions, this guide will equip you with the knowledge to tackle various challenges effectively. Whether you’re facing unusual noises, poor performance, or unexpected shutdowns, you will find step-by-step guidance tailored to assist you in addressing these concerns.
Empower yourself with the confidence to handle maintenance tasks. By familiarizing yourself with the intricacies of your appliance, you can save time and money while extending its lifespan. Let’s delve into the key aspects of keeping your equipment running smoothly.
Common Issues with Electric Dryers
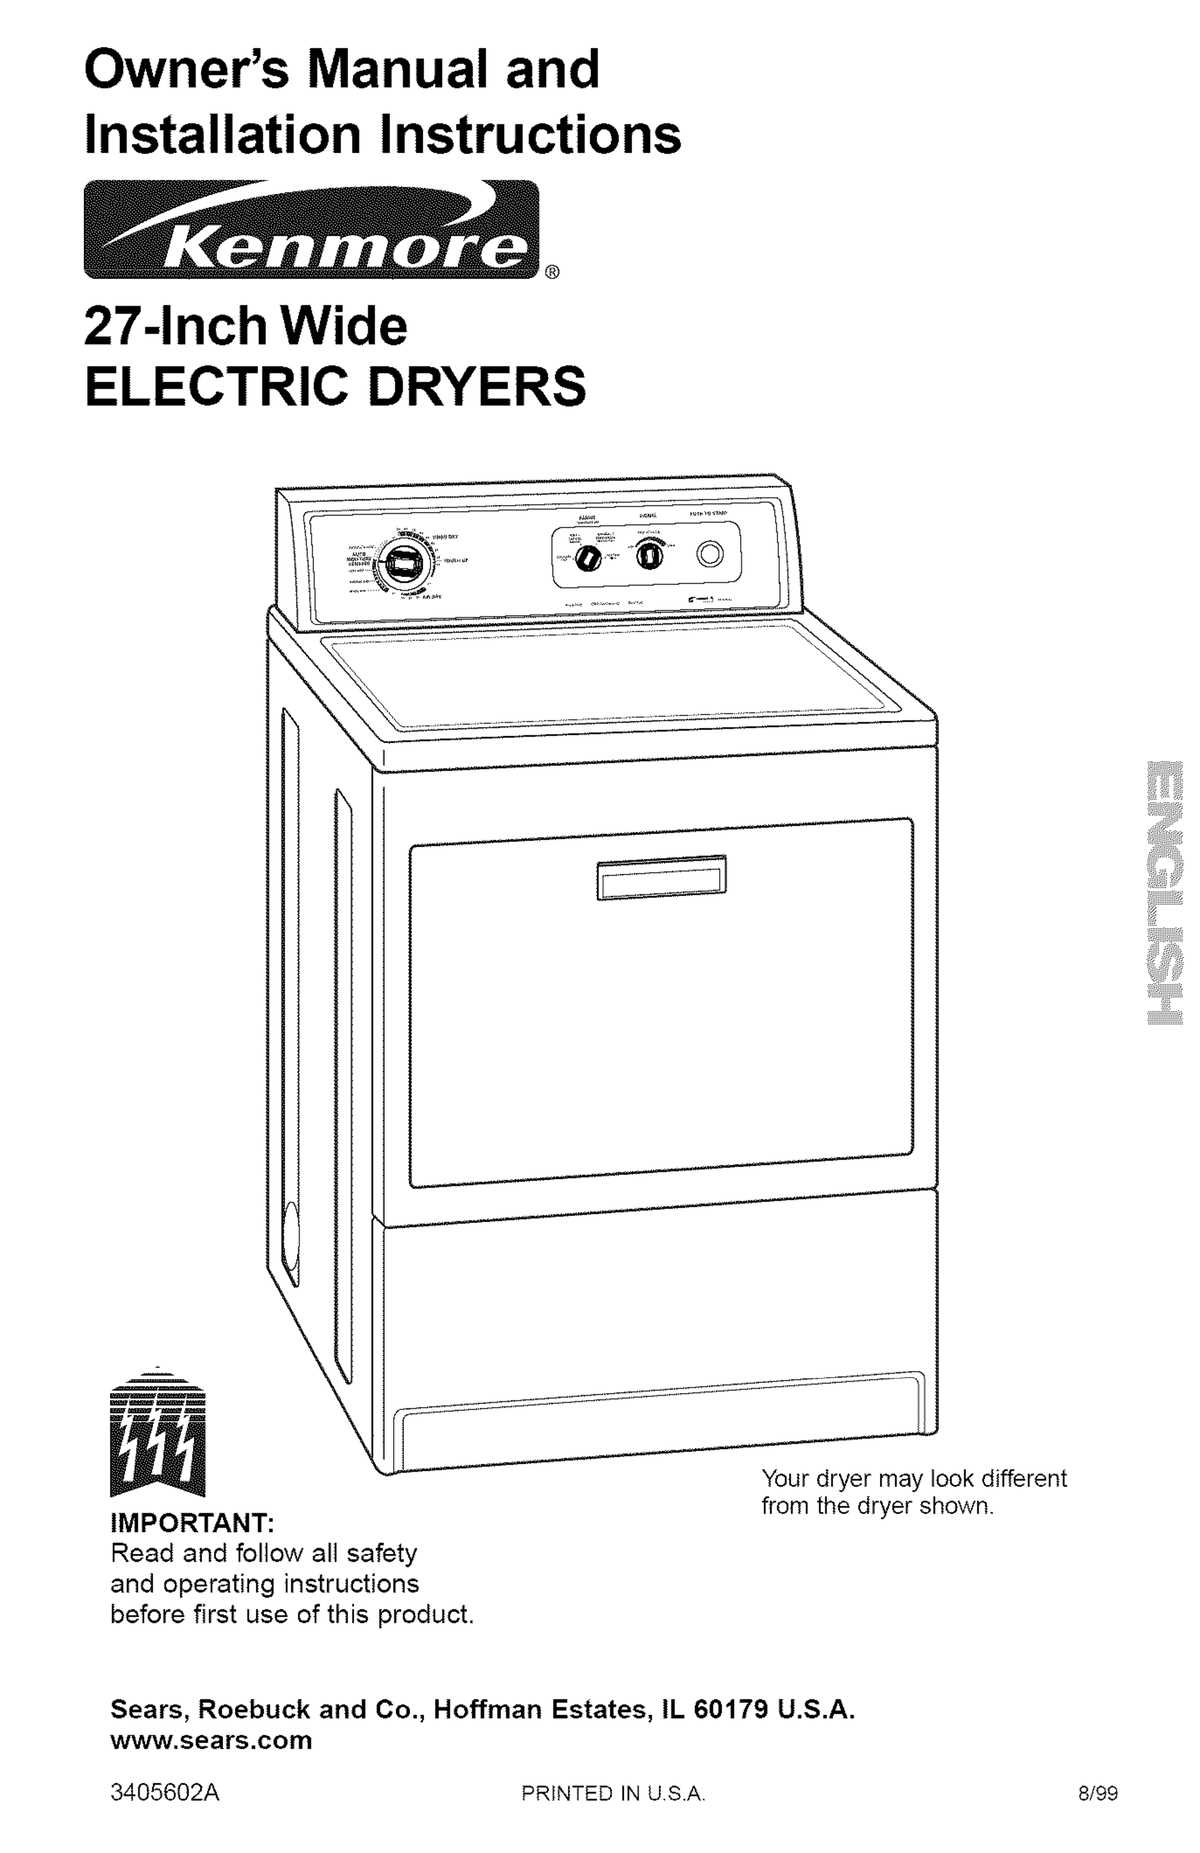
Household appliances that utilize heat and airflow can experience a range of complications, leading to inefficient operation or complete failure. Understanding these common problems can help in identifying solutions and maintaining optimal functionality.
Typical Problems Encountered
Several frequent issues may arise with these devices, affecting their performance. The following list highlights some of the most notable concerns:
| Issue | Possible Causes | Recommended Solutions |
|---|---|---|
| No heat | Faulty heating element, thermostat malfunction, or circuit issues | Inspect and replace faulty components; check circuit connections |
| Poor drying | Clogged venting, overloading, or incorrect settings | Clear vent pathways; avoid overloading; adjust settings |
| Strange noises | Loose parts, worn belts, or foreign objects | Tighten or replace loose components; remove obstructions |
| Odors | Lint buildup or moisture retention | Clean lint filter regularly; ensure proper ventilation |
Preventive Measures
Regular maintenance can significantly reduce the likelihood of encountering these issues. Simple practices, such as cleaning lint filters after each use and ensuring proper airflow, contribute to the longevity and efficiency of these appliances.
Tools Needed for Dryer Repairs
To effectively address issues with your appliance, having the right equipment is essential. The following items are crucial for troubleshooting and resolving common malfunctions. Proper tools can simplify the process and ensure safety during any maintenance task.
- Screwdrivers: A set including both flathead and Phillips types is necessary for opening panels and accessing internal components.
- Multimeter: This device is vital for testing electrical connections and ensuring that components are functioning properly.
- Wrenches: Adjustable and socket wrenches will help in loosening or tightening bolts and nuts as needed.
- Pliers: Needle-nose and standard pliers can assist in gripping and manipulating small parts.
- Tape Measure: Useful for measuring spaces and ensuring that replacement parts fit correctly.
Equipping yourself with these tools will facilitate a smoother process when diagnosing and fixing appliance problems. Always prioritize safety and follow guidelines while working on your unit.
Step-by-Step Troubleshooting Guide
This section provides a systematic approach to identifying and resolving common issues that may arise during operation. By following these organized steps, users can effectively diagnose problems and implement appropriate solutions.
Initial Assessment
- Check the power supply: Ensure the unit is properly plugged in and the outlet is functioning.
- Inspect circuit breakers: Verify that the circuit breakers are not tripped.
- Examine the door switch: Make sure the door is fully closed and the switch is engaged.
Common Issues and Solutions
- No heat:
- Inspect the heating element for damage.
- Check the thermostat and replace if faulty.
- Poor performance:
- Clean lint filter and ducts to ensure proper airflow.
- Examine the blower for obstructions.
- Strange noises:
- Look for loose components or foreign objects inside.
- Check the drum support rollers and bearings.
By following these steps and solutions, users can effectively troubleshoot and resolve many common operational challenges.
How to Replace Heating Elements
When your appliance fails to produce warmth, it may indicate that the heating components need attention. Replacing these elements can restore functionality, ensuring efficient operation and optimal performance.
Follow these steps to successfully complete the replacement process:
- Gather Tools and Materials:
- Screwdriver (flathead and Phillips)
- Multimeter
- Replacement heating elements
- Safety gloves
- Disconnect Power: Ensure the appliance is unplugged to avoid any electrical hazards during the procedure.
- Access the Heating Elements:
- Remove the back panel or access door, depending on the model.
- Carefully detach any screws or clips securing the panel.
- Test the Old Elements:
- Use the multimeter to check for continuity.
- If there is no continuity, the elements need replacement.
- Remove the Old Elements:
- Disconnect the wiring harness carefully.
- Unscrew or unclip the heating components.
- Install the New Elements:
- Position the new heating components in place.
- Reconnect the wiring harness securely.
- Reassemble the Appliance:
- Replace the back panel or access door.
- Secure with screws or clips.
- Restore Power: Plug the appliance back in and perform a test run to ensure everything is functioning properly.
Following these instructions will help you replace the heating components efficiently, leading to restored performance and longevity of the appliance.
Maintaining Your Dryer for Longevity
Regular care is essential for ensuring the longevity of your appliance. By implementing simple maintenance practices, you can enhance performance, reduce energy consumption, and extend its operational life. This section outlines effective strategies to keep your unit running smoothly.
Key Maintenance Practices

- Clean the Lint Filter: Remove lint after each use to prevent blockages that can lead to overheating.
- Inspect Ventilation: Ensure that ducts are free from obstructions and that air can flow freely.
- Wipe Down Surfaces: Regularly clean the exterior and interior surfaces to remove dust and debris.
- Check for Wear: Periodically inspect belts and hoses for signs of damage or wear that may require attention.
Seasonal Checks
- Conduct a thorough inspection at the beginning of each season.
- Test the heating elements to ensure they are functioning properly.
- Examine electrical connections for signs of fraying or loose connections.
By adhering to these maintenance guidelines, you can ensure your appliance operates efficiently and remains reliable for years to come.
Understanding Dryer Wiring Diagrams
Wiring schematics are essential tools that provide a visual representation of electrical connections within appliances. They illustrate how components interact and enable troubleshooting by highlighting potential issues in the circuitry.
These diagrams typically include symbols that represent different parts, such as switches, motors, and power sources. Understanding these symbols is crucial for anyone looking to diagnose problems effectively. Each line indicates a specific connection, showing how electricity flows through the system.
When examining a wiring schematic, pay attention to the layout and organization. A well-structured diagram can guide users through the troubleshooting process, making it easier to identify faulty components. Additionally, being familiar with common wiring configurations can significantly enhance one’s ability to work on similar devices.
Overall, mastering the interpretation of these diagrams empowers individuals to undertake maintenance and enhance the longevity of their appliances, ensuring they operate efficiently.
Safety Precautions During Repairs
Ensuring a secure environment is paramount when conducting maintenance on appliances. Adhering to specific guidelines can significantly reduce the risk of accidents and injuries. This section highlights essential measures to consider for a safe working experience.
First and foremost, always disconnect the power source before starting any task. This simple step can prevent unexpected electrical shocks that may occur while handling components. Additionally, using insulated tools is highly recommended to further minimize risks.
Maintain a clutter-free workspace to avoid tripping hazards and ensure that all necessary tools are within easy reach. Wearing protective gear, such as gloves and safety glasses, can also provide an extra layer of defense against potential injuries.
Finally, it’s crucial to follow manufacturer guidelines and recommendations during any service activity. This not only aids in preserving the appliance’s integrity but also enhances safety by providing specific instructions tailored to the device in question.
When to Call a Professional
Understanding when to seek assistance from a skilled technician can significantly enhance the longevity and efficiency of your appliance. Certain issues may appear manageable but could require specialized knowledge and tools to resolve effectively.
Inconsistent Performance: If your appliance exhibits erratic behavior, such as unexpected shutdowns or failures to heat properly, it may signal underlying complications that demand expert intervention.
Unusual Noises: Loud or unfamiliar sounds during operation often indicate mechanical problems. Ignoring these signs can lead to more severe damage, making it essential to consult a professional for a thorough assessment.
Burning Smells: Any indication of burning odors is a cause for immediate concern. This could point to electrical issues or overheating components, necessitating prompt attention from a qualified service provider.
Persistent Error Codes: Modern appliances frequently display error codes when malfunctions occur. If troubleshooting efforts do not resolve these alerts, it’s prudent to contact an expert who can diagnose and fix the issue accurately.
Safety Concerns: If there are concerns about safety, such as exposed wires or malfunctioning components, it’s best to leave repairs to a trained professional. Ensuring safe operation is paramount, and experts are equipped to handle such hazards effectively.
Tips for Efficient Dryer Operation
Optimizing the functionality of your appliance can lead to better performance and reduced energy consumption. Implementing simple strategies can enhance drying efficiency while prolonging the lifespan of the equipment.
Regular Maintenance
- Clean the lint filter after each use to ensure proper airflow.
- Check and clean the venting system periodically to prevent clogs.
- Inspect seals and gaskets for wear and replace them if necessary.
Smart Usage Practices
- Load items evenly to balance the drum, allowing for optimal drying.
- Use appropriate settings for different fabric types to avoid damage.
- Do not overload the appliance, as it can lead to longer drying times.
Common Mistakes in Dryer Maintenance
Proper upkeep is essential for ensuring optimal performance and longevity of any household appliance. However, certain missteps can lead to reduced efficiency, increased energy consumption, and even potential hazards. Understanding these common errors can help users maintain their machines effectively.
Overlooking Regular Cleaning
One of the most frequent mistakes is neglecting to perform routine cleanings. This includes:
- Failing to clean lint traps after each use.
- Ignoring the buildup of lint in venting systems.
- Forgetting to inspect and clean the interior components periodically.
Improper Loading Techniques
Another common issue arises from incorrect loading practices, which can strain the appliance and affect drying efficiency. Consider the following:
- Overloading the machine can lead to inadequate drying and excess wear.
- Underloading may cause the appliance to become unbalanced.
- Mixing heavy and lightweight items can create uneven drying.