Essential Guide to Repairing Your GE Front Load Washer
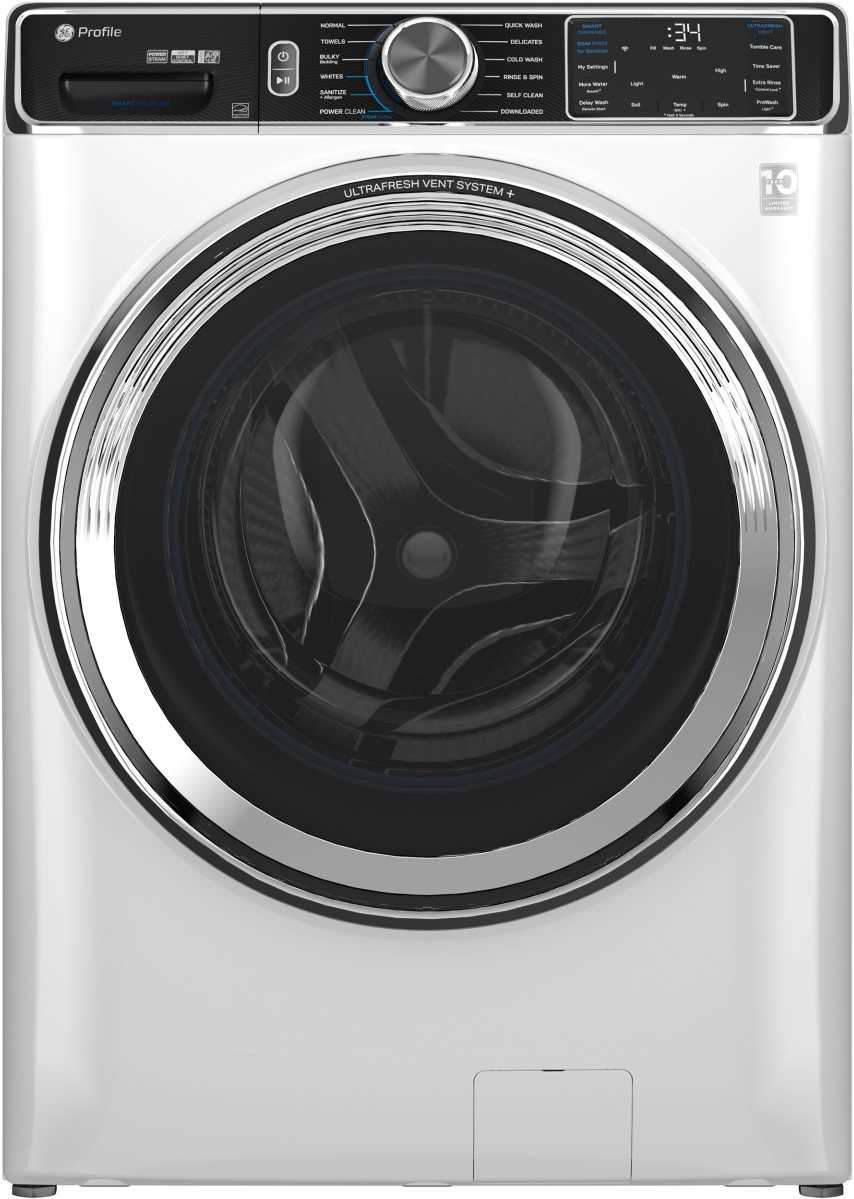
When faced with issues in your GE laundry equipment, understanding the underlying mechanics can empower you to tackle common problems effectively. This resource provides a comprehensive overview to assist you in identifying and resolving typical challenges encountered with these appliances. With the right approach, you can restore functionality and prolong the lifespan of your machine.
In this guide, we will delve into various troubleshooting techniques and maintenance tips. Whether you’re dealing with performance issues or unusual noises, each section is designed to equip you with the knowledge needed to make informed decisions. We aim to simplify the process, ensuring that even those with minimal experience can navigate the intricacies of their unit.
By following the outlined steps and recommendations, you can take charge of your laundry care, saving both time and resources. Empower yourself with the information provided here, and transform potential frustrations into manageable solutions.
Common Issues with GE Front Load Washers
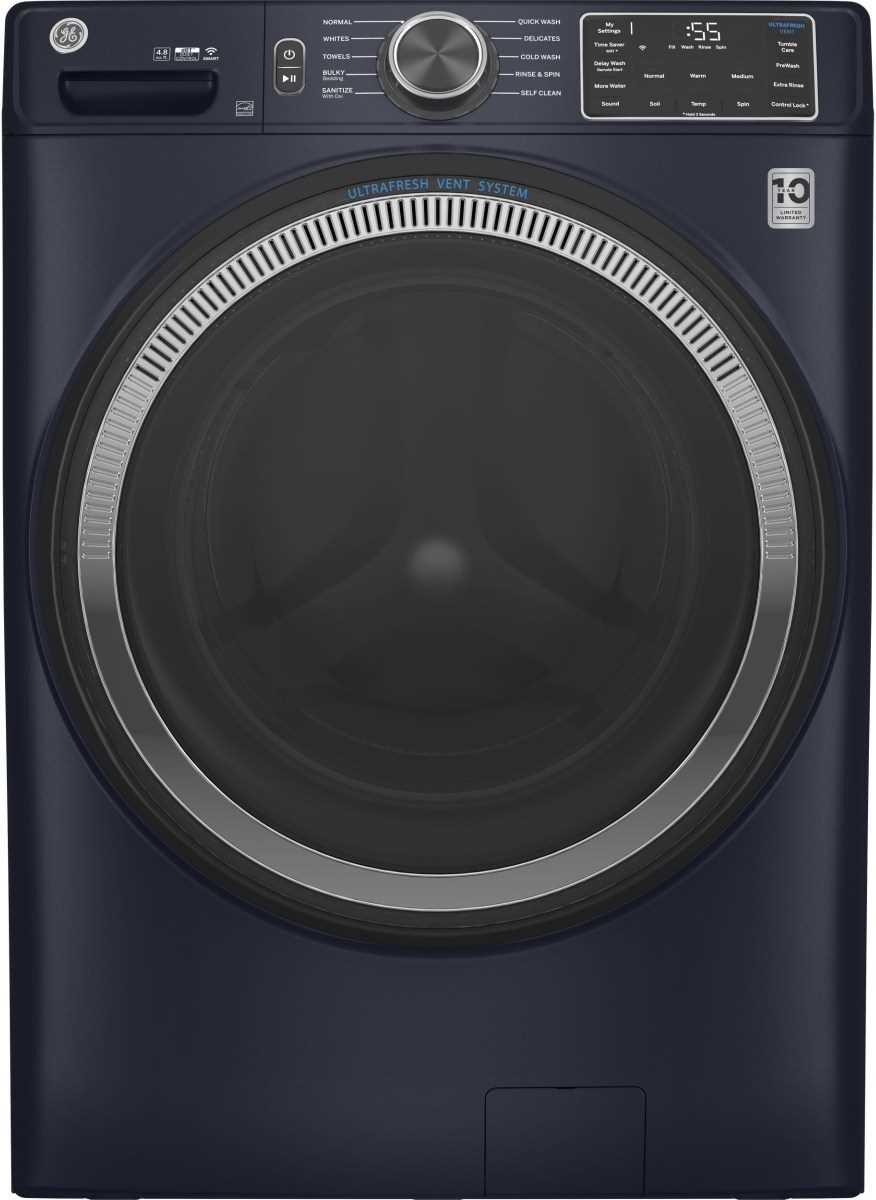
When it comes to home appliances from GE, certain challenges tend to arise that can affect performance and convenience. Understanding these frequent problems can help users maintain their machines more effectively and identify when assistance may be necessary.
1. Drainage Problems: A common concern involves water not being expelled properly. This can be due to clogs in the drainage system or a malfunctioning pump. Regularly checking hoses for kinks or obstructions can prevent these issues.
2. Unusual Noises: Many users report hearing strange sounds during operation. These noises could indicate a misalignment of components or wear and tear on parts like bearings. It is essential to investigate these sounds early to avoid further damage.
3. Leaks: Water pooling around the appliance can signal a leak, often stemming from door seals or hoses. Ensuring that seals are intact and hoses are securely connected can help minimize this risk.
4. Odors: Persistent smells inside the drum may be linked to mold or mildew buildup. Regular cleaning cycles and leaving the door ajar when not in use can improve air circulation and reduce odor issues.
5. Control Panel Issues: Problems with the display or settings not responding can hinder functionality. These may arise from electrical issues or software glitches. Resetting the machine or checking connections can sometimes resolve these concerns.
Addressing these typical issues proactively can enhance the longevity and efficiency of GE appliances, ensuring they remain reliable for everyday use.
Understanding Error Codes and Their Meanings
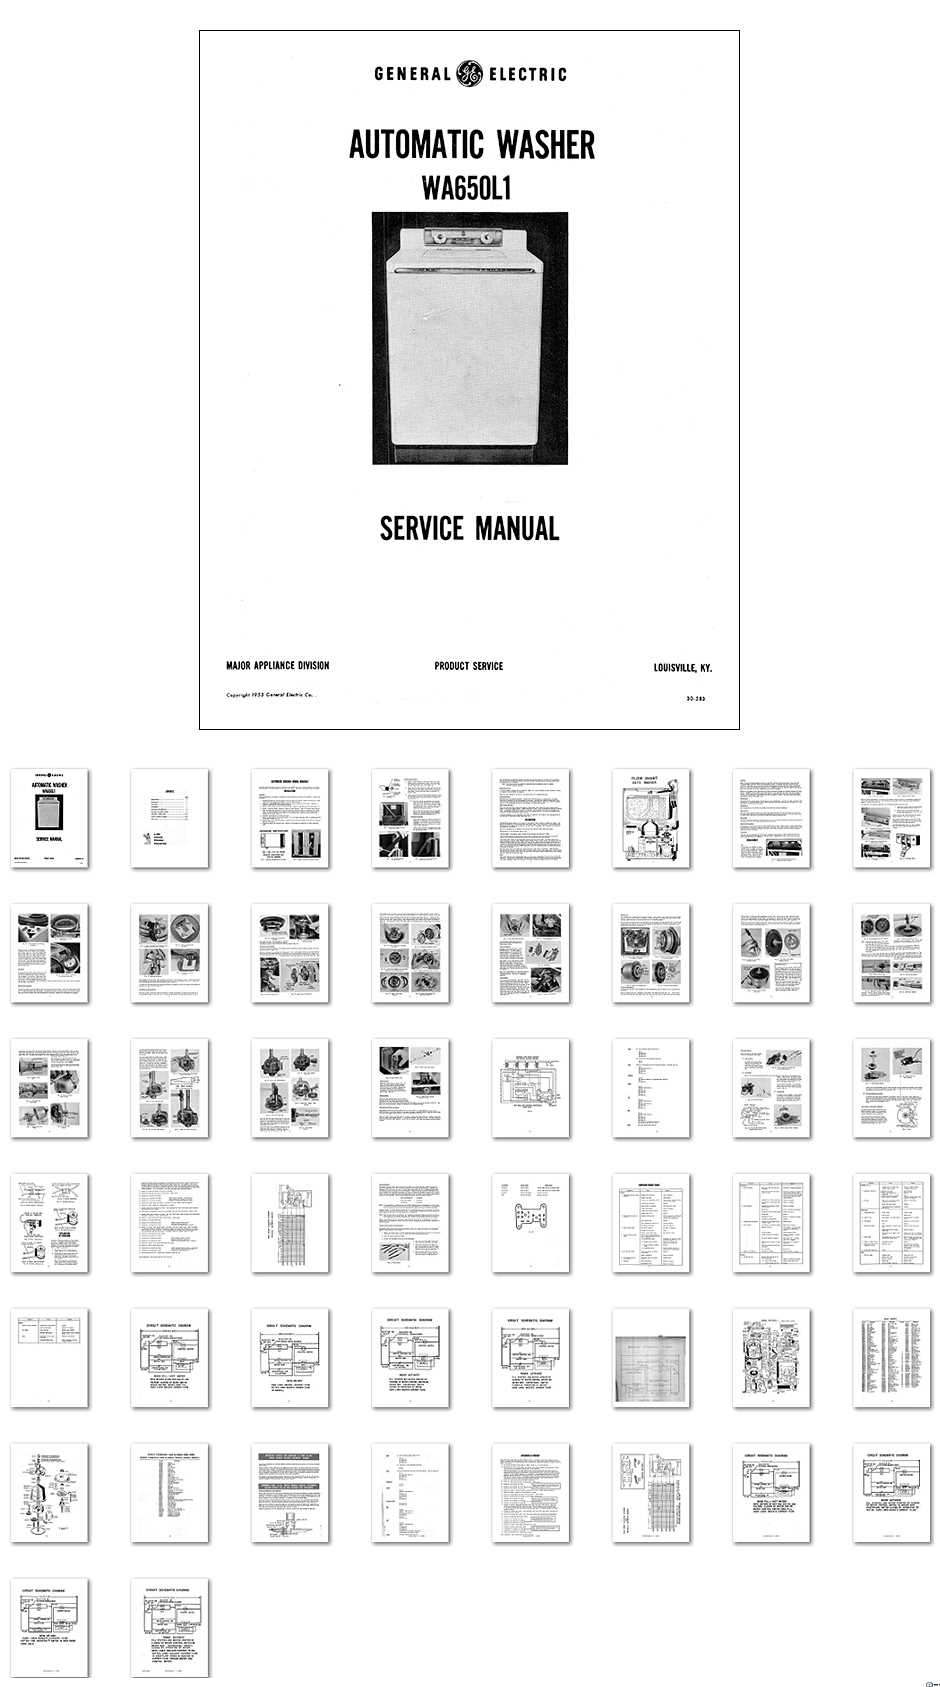
Error codes serve as vital indicators for diagnosing issues within your appliance. They provide essential information that can guide users in troubleshooting and resolving malfunctions effectively. Recognizing and interpreting these codes can significantly enhance the longevity and performance of the unit.
Common Error Codes
Many appliances exhibit specific codes that correspond to particular problems. For example, a code might indicate issues with water supply or drainage. Understanding these common indicators can help users take prompt action to rectify situations before they escalate.
Decoding the Messages
Each code typically has a distinct meaning, often accompanied by potential solutions. It’s important to consult the specific guidelines related to your model. For instance, if an error code appears, you might need to check connections or reset the device. Taking immediate action based on these codes can prevent further complications and ensure optimal functionality.
Essential Tools for Washer Repairs
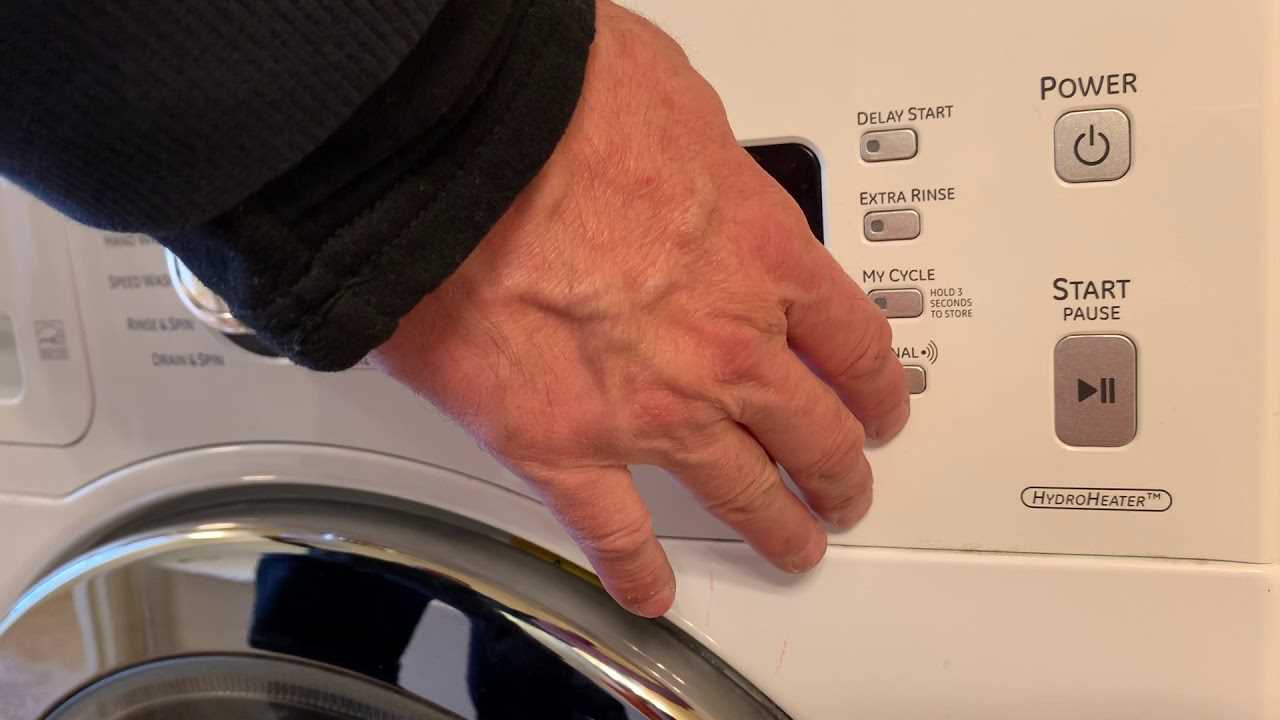
When it comes to maintaining and fixing your household appliance, having the right instruments at your disposal is crucial. These tools not only facilitate the process but also ensure that tasks are completed efficiently and safely. Whether you’re troubleshooting issues or performing regular maintenance, a well-equipped toolkit can make a significant difference.
Basic Hand Tools
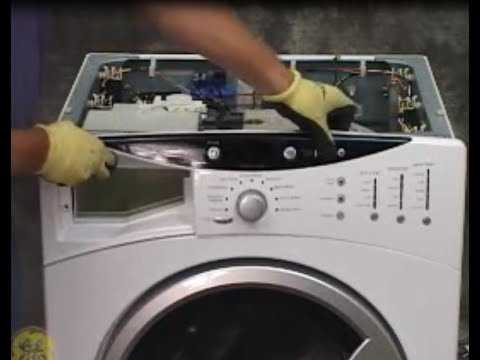
Every technician should have a set of basic hand tools readily available. This includes screwdrivers, pliers, and wrenches, which are fundamental for accessing various components. A multi-tool can also be advantageous, combining several functions into one compact device, saving space and providing convenience during tasks.
Diagnostic Equipment
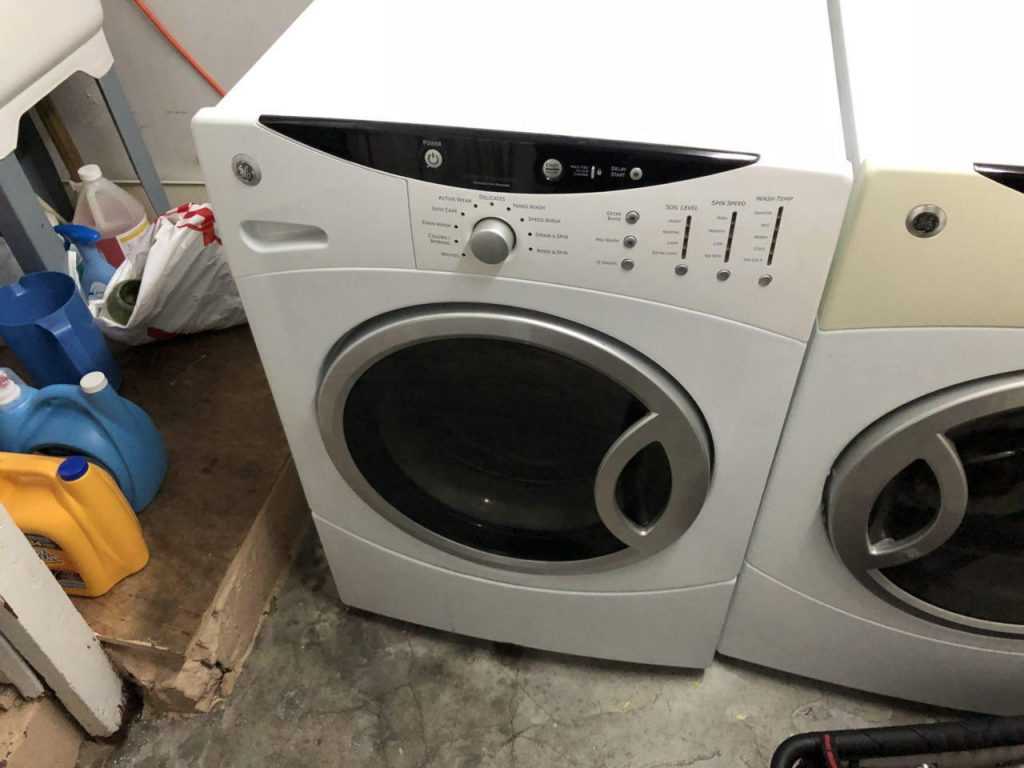
To accurately identify problems, possessing diagnostic equipment is essential. A multimeter allows for electrical testing, helping to determine if components are functioning correctly. Additionally, having a temperature gauge can aid in assessing whether the appliance is operating within the proper range, ensuring efficient performance.
Step-by-Step Guide to Unclogging Drains
Clogged pipes can lead to a range of household issues, disrupting daily routines and causing frustration. Addressing these blockages promptly can save time and prevent further complications. This guide provides a straightforward approach to restoring the flow in your plumbing system.
Identify the Cause of the Clog
Understanding what caused the obstruction is crucial. Common culprits include hair, grease, food particles, and soap scum. Examine the affected area to determine the best method for resolution. If the blockage is in a sink or tub, remove any visible debris. For toilets, ensure that the bowl is not overflowing.
Effective Unclogging Techniques
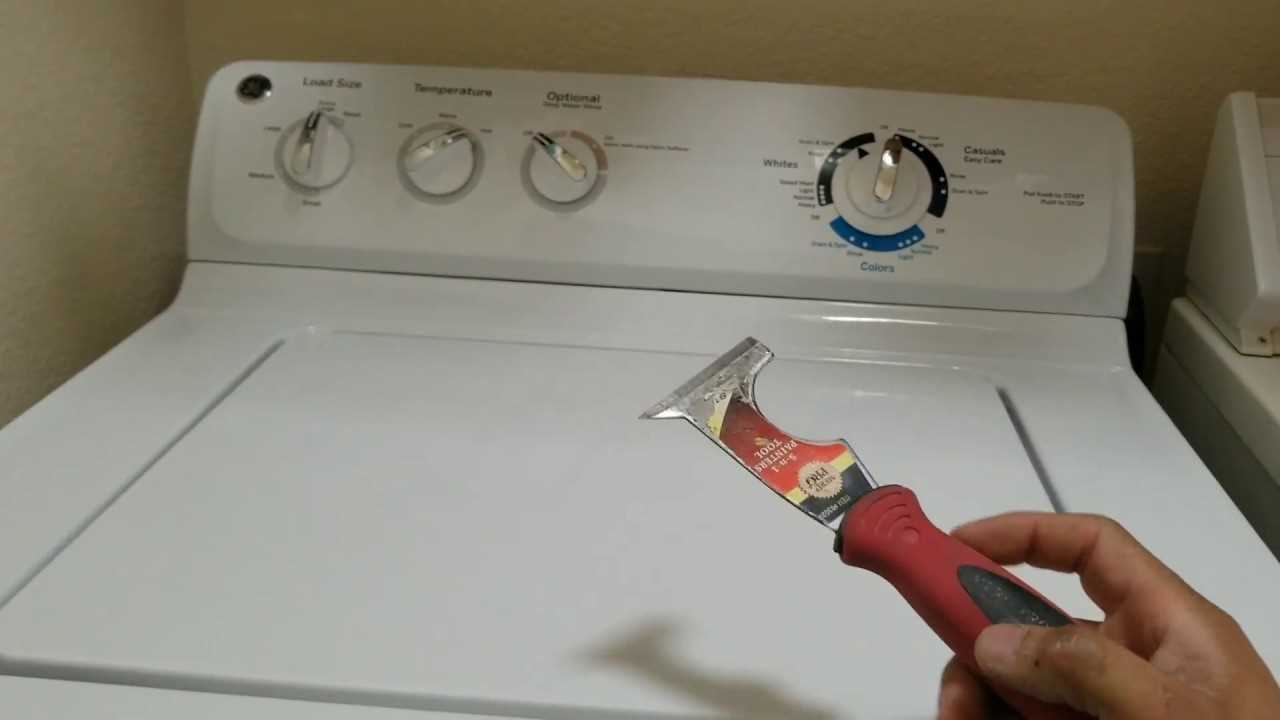
Once you’ve identified the problem, several methods can help you eliminate the blockage:
- Plunger: Use a plunger to create pressure and dislodge the obstruction. Ensure a tight seal around the drain and pump vigorously.
- Baking Soda and Vinegar: Combine these natural ingredients for an eco-friendly solution. Pour a cup of baking soda followed by a cup of vinegar into the drain. Let it fizz for 30 minutes before flushing with hot water.
- Drain Snake: If other methods fail, a drain snake can be effective. Insert the tool into the drain and twist to break up or remove the blockage.
By following these steps, you can effectively address clogs and maintain the efficiency of your plumbing system.
Replacing the Door Seal: A How-To
Maintaining an efficient home appliance often requires attention to its components, especially seals that can wear out over time. This guide focuses on the essential steps for swapping out a worn or damaged door seal. By following these instructions, you can restore the functionality of your appliance and prevent potential leaks, ensuring optimal performance.
Gathering Necessary Tools
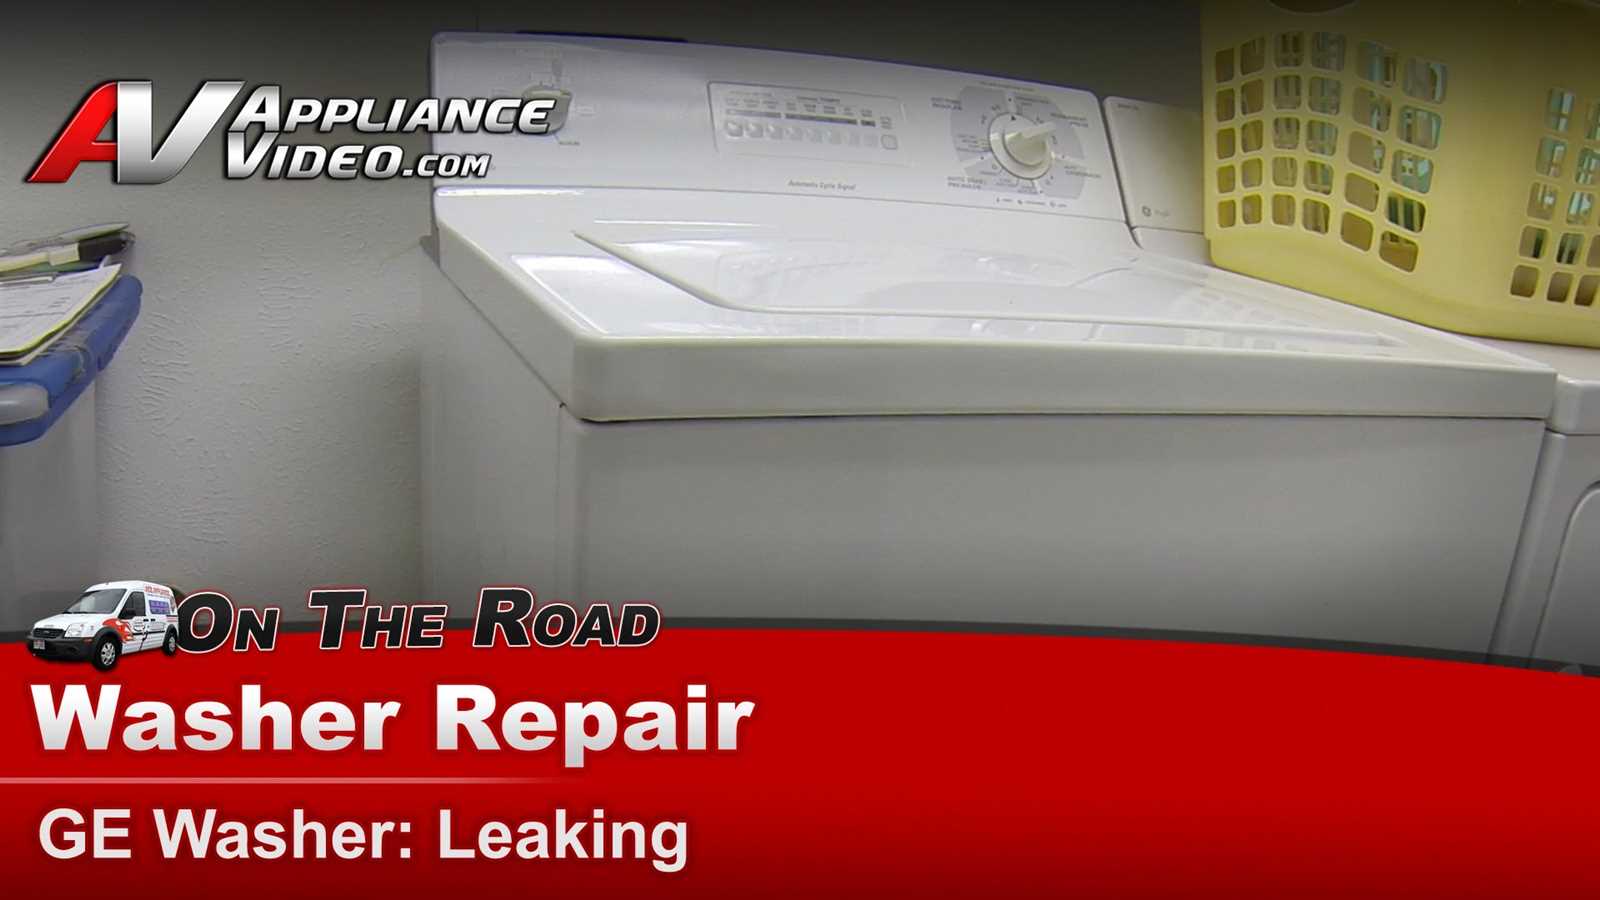
Before starting the replacement process, make sure you have all the required tools at hand. You will typically need a screwdriver, pliers, and a clean cloth. Having these items ready will streamline your work and make the task more manageable.
Step-by-Step Replacement Process
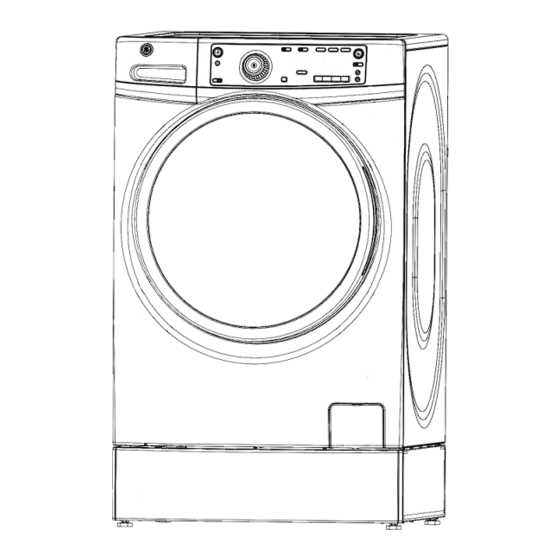
Begin by disconnecting the appliance from the power source to ensure safety. Once unplugged, inspect the existing seal for any visible signs of wear. Carefully remove the old seal by loosening any clips or screws securing it in place. Clean the area where the new seal will be installed to ensure a snug fit. Finally, position the new seal, securing it firmly according to the manufacturer’s instructions. Reconnect the power and test for any leaks before concluding the task.
Diagnosing Electrical Problems in Washers
Identifying electrical issues in laundry machines requires a systematic approach to ensure safe and effective troubleshooting. Understanding how to evaluate each component can help pinpoint the source of the malfunction, minimizing downtime and repair costs.
Step-by-Step Diagnosis
-
Check Power Supply:
- Ensure the appliance is plugged in securely.
- Inspect the outlet for functionality using a multimeter.
- Verify the circuit breaker hasn’t tripped.
-
Examine Control Panel:
- Look for any visible damage or burnt components.
- Test buttons and dials for responsiveness.
- Check for error codes displayed on the screen, if applicable.
-
Inspect Wiring and Connections:
- Look for loose or corroded wires.
- Ensure connections are tight and secure.
- Follow wiring diagrams to confirm proper routing.
-
Assess Motor Functionality:
- Listen for unusual sounds when the machine is running.
- Check for burnt smells, which may indicate overheating.
- Test the motor with a multimeter to ensure proper resistance.
Common Issues and Solutions
-
No Power: If the appliance does not start, it could be a tripped breaker or a faulty power cord.
-
Unresponsive Control Panel: This may be due to a defective control board or a blown fuse.
-
Motor Not Operating: Inspect the motor for damage and ensure it receives power.
By following these steps, one can effectively narrow down potential electrical faults, leading to more efficient troubleshooting and resolution.
Cleaning the Washer Drum Effectively
Maintaining the cleanliness of the drum is essential for optimal performance and longevity of your appliance. A well-maintained interior not only enhances efficiency but also prevents unpleasant odors and residue buildup. Regular cleaning ensures that your machine operates at its best, contributing to better laundry results.
Steps to Achieve a Sparkling Drum
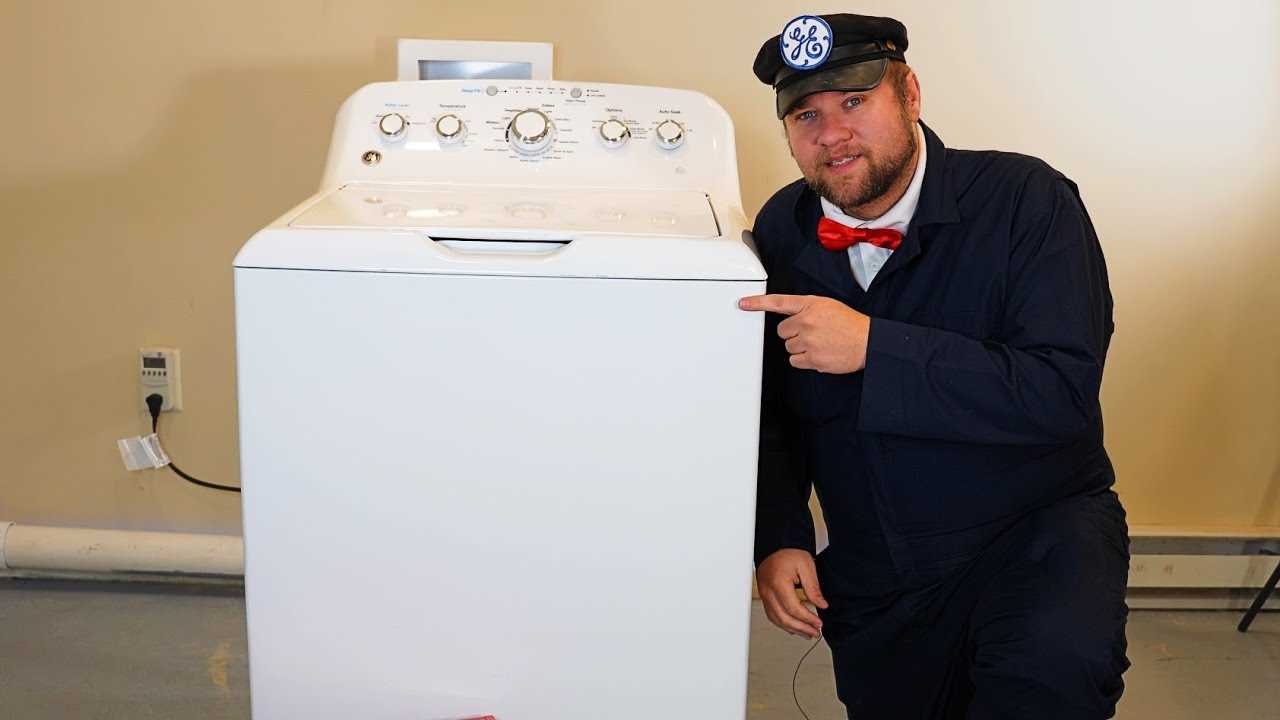
To start, empty the drum completely and check for any lingering items. Then, prepare a cleaning solution using either white vinegar or a specialized drum cleaner. Pour the solution into the drum and run a hot cycle without any laundry. This process helps dissolve grime and eliminates any bacteria.
Additional Tips for Maintenance
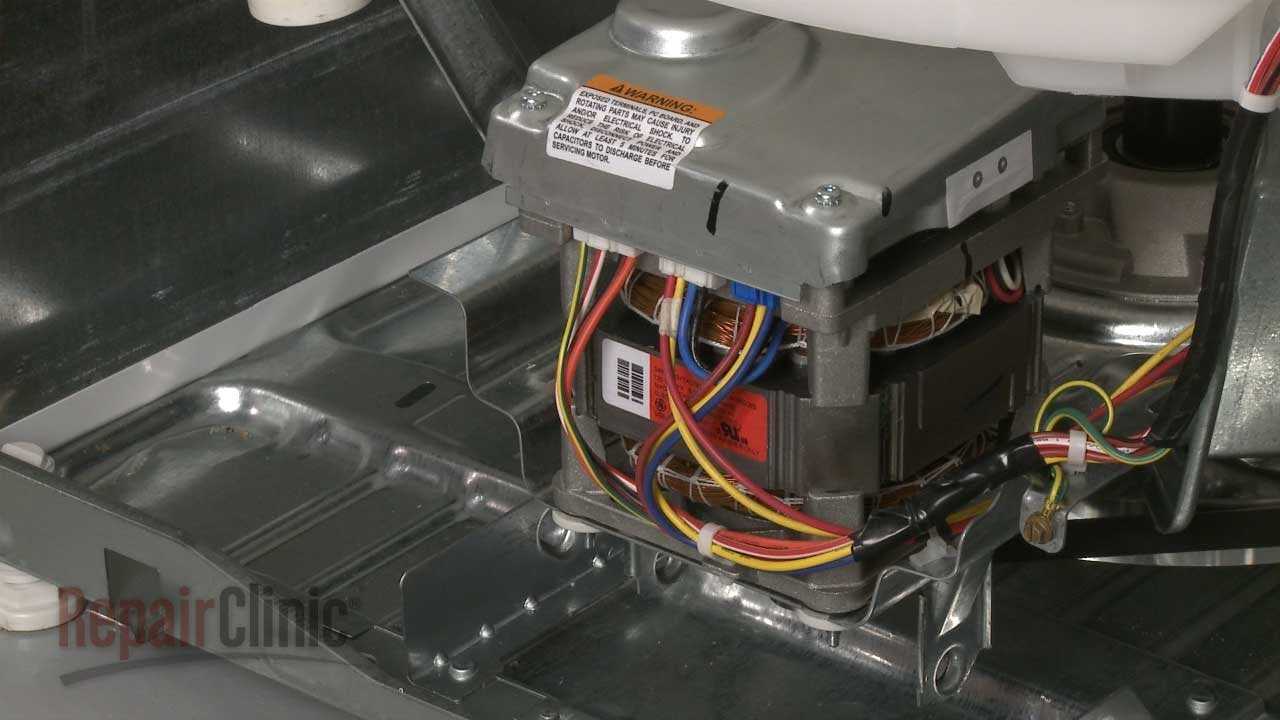
After the cycle, wipe down the interior with a soft cloth to remove any remaining residue. It’s also advisable to leave the door ajar for a while to promote air circulation, preventing moisture buildup. For an extra layer of care, consider cleaning the detergent dispenser and rubber seals regularly, as these areas can accumulate dirt over time.
Remember: Consistent maintenance not only prolongs the life of your appliance but also ensures fresh and clean results every time.
Maintaining Your Washer for Longevity
Ensuring the durability of your laundry appliance requires consistent care and attention. By implementing a few simple practices, you can significantly enhance its lifespan and efficiency, reducing the need for future troubleshooting and interventions.
Regular Cleaning: Periodic cleaning is essential to prevent the buildup of detergent residue and mildew. Wipe down the drum and door seals after each use, and run a cleaning cycle with a specialized product or a mixture of vinegar and baking soda once a month.
Check Hoses and Connections: Inspect hoses and connections regularly for signs of wear or leaks. Replacing damaged components promptly can prevent more serious issues down the line. Ensure that connections are secure to avoid unnecessary strain on the appliance.
Proper Loading: Avoid overloading the drum, as this can strain the motor and other components. Follow the manufacturer’s guidelines for capacity, and distribute items evenly to maintain balance during cycles.
Use the Right Detergent: Select a detergent that is suitable for your appliance type and follow the recommended dosages. Using too much detergent can lead to excess suds, which may affect performance and lead to buildup.
Regular Maintenance Checks: Schedule periodic inspections to ensure all components are functioning properly. Look for unusual noises or vibrations during operation, as these may indicate underlying issues that require attention.
By adopting these practices, you can help extend the life of your laundry appliance, ensuring it remains efficient and effective for years to come.
When to Call a Professional Technician
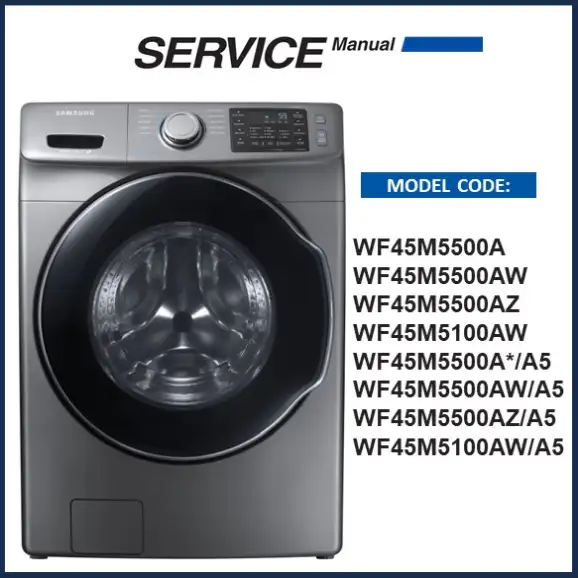
Determining the right moment to seek help from an expert can be crucial for maintaining the functionality of your appliance. While some issues can be resolved with basic troubleshooting, others may require specialized knowledge and tools. Understanding the signs that indicate the need for professional assistance is essential to avoid further complications.
Frequent Errors: If your appliance displays error codes repeatedly or fails to perform its basic functions consistently, it might be time to contact a technician. Persistent problems often indicate underlying issues that require a professional’s expertise.
Unusual Noises: Uncommon sounds, such as grinding, clanking, or banging, can signal serious mechanical problems. Ignoring these noises can lead to more extensive damage, making it wise to consult an expert at the first sign of concern.
Water Leaks: Any signs of leaking water around your device should be addressed immediately. Water damage can escalate quickly, and a technician can diagnose the source and recommend the necessary repairs to prevent further issues.
Electrical Problems: If you experience issues such as tripped circuit breakers or malfunctioning controls, it’s best to reach out to a professional. Electrical faults can pose safety risks and should be handled by someone qualified.
Unresolved Issues: If you have attempted various troubleshooting steps without success, don’t hesitate to call in a professional. Sometimes, an experienced technician can identify problems that may not be apparent to an untrained eye.
Recognizing when to seek help can save you time, money, and frustration. If in doubt, it’s always a good idea to err on the side of caution and consult with a professional technician to ensure your appliance remains in optimal condition.