Complete Guide to Repairing Your Whirlpool Trash Compactor
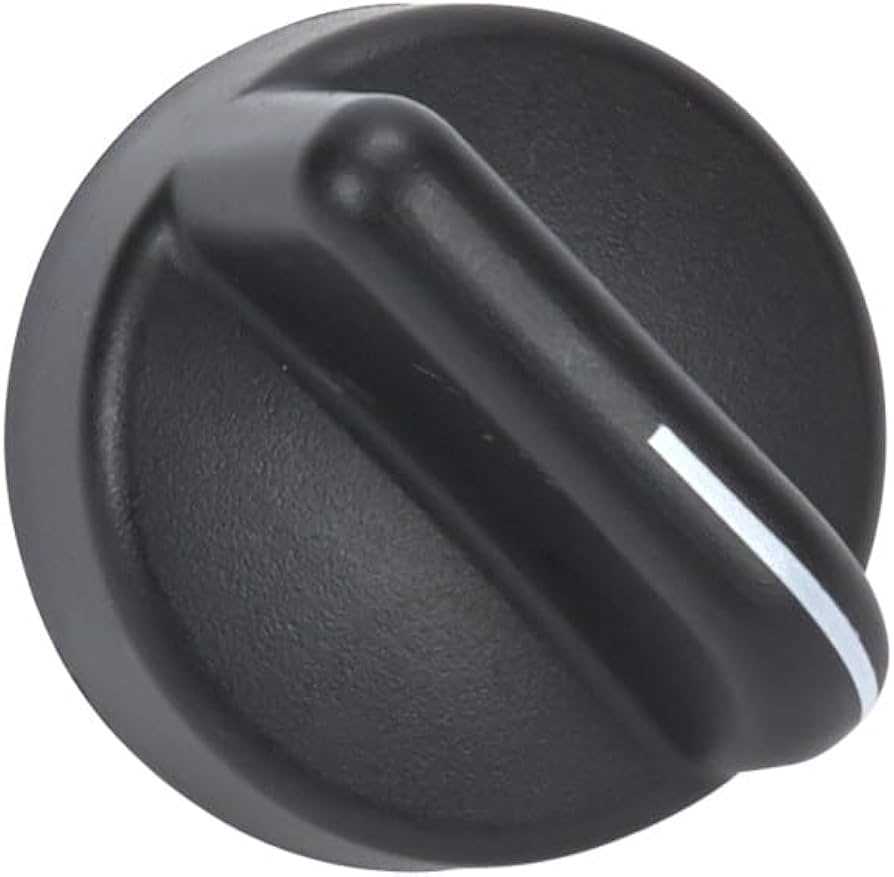
Understanding the intricacies of kitchen waste management devices can significantly enhance their longevity and efficiency. These systems are designed to minimize the volume of refuse, ensuring that your space remains clean and functional. When issues arise, knowing how to address them is essential for maintaining optimal performance.
In this section, we will explore various techniques and strategies to diagnose and fix common problems associated with these compression units. Whether it’s a malfunctioning motor or a jammed mechanism, recognizing the symptoms and applying the right solutions can save time and resources.
Equipped with practical insights and step-by-step guidance, this overview aims to empower users to tackle challenges confidently. By familiarizing yourself with the essential components and functions of your device, you can ensure its effective operation for years to come.
Understanding Your Whirlpool Trash Compactor
This section aims to provide you with essential insights into the functionality and features of your waste compression appliance. Gaining a comprehensive understanding will enhance your ability to utilize the unit effectively and troubleshoot common issues that may arise during its operation.
Key Features and Benefits
Your device is designed to minimize the volume of waste, thereby optimizing space and reducing the frequency of disposal. With various settings and options, it allows for customization based on your specific needs. Familiarizing yourself with these features will enable you to maximize efficiency and ensure a seamless experience.
Common Functions and Maintenance

Common Issues with Trash Compactors
Home appliances designed for waste reduction can encounter several challenges during operation. Understanding these frequent problems can help users maintain efficiency and extend the lifespan of their devices. Below are some of the typical concerns that may arise.
1. Insufficient Compression

One of the most prevalent issues is inadequate waste compression. This can lead to overflowing and reduced functionality. Common causes include:
- Overloading the machine beyond its capacity
- Worn or damaged compression plates
- Improper positioning of materials
2. Noise and Vibration
Excessive noise or vibrations during operation can indicate underlying problems. Potential reasons include:
- Loose components or screws
- Misalignment of the unit
- Foreign objects lodged within the mechanism
Essential Tools for Repairs
Having the right equipment is crucial when it comes to addressing any malfunctioning appliance. A well-stocked toolkit can make troubleshooting and maintenance tasks much more efficient. Below is a list of necessary items that will aid in resolving common issues effectively.
Firstly, a set of screwdrivers in various sizes is indispensable. Both flathead and Phillips types will cover most fastening needs. Additionally, a pair of pliers can help with gripping, twisting, and cutting wires or other materials.
Next, a socket set is vital for loosening or tightening bolts. Make sure to include both metric and standard sizes to accommodate different components. A utility knife is also beneficial for cutting through packaging or old materials during the process.
Moreover, a multimeter is essential for diagnosing electrical problems, allowing you to check voltage and continuity. It’s important to have a level to ensure everything is properly aligned, especially after reassembly.
Finally, a sturdy work surface and good lighting will enhance visibility and comfort, making the task at hand much more manageable. By equipping yourself with these essential tools, you’ll be well-prepared to tackle any challenges that arise.
Step-by-Step Repair Process
This section outlines a detailed approach to fixing common issues that may arise with your device. Following a systematic method can help ensure that you address each problem efficiently and effectively.
1. Diagnosis: Begin by identifying the specific malfunction. Listen for unusual noises, check for error indicators, and note any irregular performance.
2. Gather Tools: Before proceeding, assemble all necessary tools and materials. Common items include screwdrivers, wrenches, and replacement parts that match your model specifications.
3. Disassembly: Carefully remove any panels or covers to gain access to internal components. Keep track of screws and small parts to avoid losing them during the process.
4. Inspection: Examine all accessible parts for wear, damage, or blockages. Look for signs of corrosion or loose connections that could contribute to the issue.
5. Replacement: If any components are faulty, replace them with new, compatible parts. Ensure that all connections are secure and aligned properly.
6. Reassembly: Once repairs are complete, reattach any panels or covers. Double-check that everything is correctly positioned and that no tools are left inside.
7. Testing: Power on the unit to verify that it operates as expected. Observe for any persisting issues and ensure all functions are working smoothly.
8. Maintenance: After successful repairs, consider regular maintenance practices to prolong the lifespan of your equipment. Clean components periodically and perform routine checks to prevent future problems.
Troubleshooting Electrical Problems
When electrical issues arise in kitchen appliances, identifying the root cause can be crucial for effective resolution. This section outlines common electrical challenges and their potential solutions, allowing users to address problems efficiently and safely.
Before diving into repairs, consider the following steps to diagnose electrical faults:
- Check the Power Supply:
- Ensure the appliance is plugged in securely.
- Inspect the outlet for any signs of damage or wear.
- Test the outlet with another device to confirm functionality.
- Examine the Power Cord:
- Look for fraying or cuts along the cord.
- Check for any visible signs of damage at the plug.
- Replace the cord if any defects are found.
- Inspect the Circuit Breaker:
- Locate the circuit panel and verify that the breaker is not tripped.
- Reset the breaker if necessary and observe if the appliance functions.
- Consider contacting an electrician if the breaker continues to trip.
- Evaluate Internal Components:
- Disconnect the appliance from power before opening it.
- Check for burnt fuses or loose connections inside.
- Look for signs of wear on switches and control boards.
By following these diagnostic steps, users can often pinpoint electrical issues and decide whether to attempt repairs or seek professional assistance.
Maintenance Tips for Longevity

Ensuring the long-term functionality of your waste management unit requires regular attention and care. By adopting a few simple practices, you can significantly extend the lifespan of the appliance and maintain its efficiency. Here are some essential tips to keep in mind.
- Regular Cleaning: Clean the interior and exterior surfaces frequently to prevent buildup and odors. Use mild soap and warm water for best results.
- Check for Obstructions: Periodically inspect the mechanisms for any foreign objects or blockages that could hinder performance.
- Lubricate Moving Parts: Apply a suitable lubricant to moving components to reduce friction and wear over time.
- Monitor Usage: Use the appliance within its recommended capacity to avoid excessive strain on the motor and mechanisms.
- Inspect Seals and Gaskets: Regularly check seals for wear and replace them if necessary to maintain airtight conditions and prevent leaks.
- Electrical Safety: Ensure that the electrical connections are secure and free from damage to prevent malfunctions or hazards.
By following these straightforward maintenance practices, you can enhance the durability of your unit and enjoy efficient waste processing for years to come.
Replacing the Compactor Blade

Replacing the cutting element is essential for maintaining optimal performance in your unit. Over time, wear and tear can diminish its effectiveness, leading to less efficient operation. This section will guide you through the process of replacing this critical component safely and effectively.
Before starting, gather the necessary tools: a screwdriver, a replacement blade, and safety gloves. Ensure the unit is unplugged to prevent any accidents during the process.
| Step | Description |
|---|---|
| 1 | Remove the outer casing by unscrewing the screws on the back and sides. |
| 2 | Carefully detach the old cutting element from its mounting brackets. |
| 3 | Align the new blade with the brackets and secure it in place. |
| 4 | Reattach the outer casing and ensure all screws are tightened properly. |
| 5 | Plug the unit back in and test for proper functionality. |
Following these steps will help ensure your unit operates smoothly, enhancing its efficiency and longevity. Regular maintenance and timely replacements are key to optimal performance.
Addressing Smells and Odors
Unpleasant aromas can emanate from various appliances, often signaling the need for attention. Addressing these issues promptly can enhance functionality and maintain a fresh environment. Understanding the sources of these odors is essential for effective resolution.
Common Sources of Unpleasant Odors
Odors can arise from food residues, stagnant moisture, or mold growth. It’s important to regularly check for any leftover materials that may have escaped disposal and settled within the unit. Additionally, trapped moisture can create a breeding ground for bacteria, resulting in foul smells.
Effective Solutions
To combat these issues, start by performing a thorough cleaning. Use a mixture of baking soda and water to eliminate residues, followed by a rinse with white vinegar for deodorizing effects. If odors persist, consider running an empty cycle with a citrus-based cleaner. Regular maintenance and inspection will help prevent future occurrences.
Dealing with Jamming Issues
Encountering blockages in your appliance can be frustrating, but understanding how to effectively address these problems can make the process smoother. Regular maintenance and a few troubleshooting steps can often resolve the situation, restoring functionality without the need for professional assistance.
First, ensure the unit is powered off to prevent any accidents while inspecting it. Check for any visible obstructions within the chamber, such as items that may have become lodged during use. Carefully remove any debris, being mindful not to damage the inner components.
If the device continues to experience blockages, consider examining the mechanism for any signs of wear or damage. Lubricating moving parts may help improve performance and reduce the likelihood of future issues. Additionally, regularly clearing out the collection area can prevent buildup that contributes to jamming.
In cases where these steps do not resolve the problem, consult the troubleshooting section of the product documentation for specific guidance. Many units feature diagnostic indicators that can provide insight into the underlying issue, allowing for more targeted interventions.
Understanding Compactor Settings
Effective management of waste disposal devices requires a solid grasp of their various configurations. By familiarizing oneself with the available options, users can optimize performance, ensuring efficient and safe operation. This section delves into the essential settings that influence functionality and effectiveness.
Types of Settings
Most models come equipped with multiple modes tailored for different tasks. Common categories include regular, heavy-duty, and light-duty. Understanding the specific needs of your waste can help in selecting the appropriate mode, enhancing both efficiency and longevity of the device.
Adjusting Compression Levels
Compression strength plays a crucial role in the performance of the unit. Users may have the option to modify compression settings based on the type and volume of materials being processed. Opting for a higher setting may reduce the frequency of disposal, while lower settings might be suitable for delicate items. Adjusting these levels according to your requirements can lead to significant improvements in efficiency.
How to Clean Your Compactor
Maintaining a clean waste management appliance is essential for its efficient operation and longevity. Regular cleaning helps prevent unpleasant odors and ensures that the unit functions smoothly. Here’s a step-by-step guide to keeping your device in top condition.
Gather Your Supplies
Before you begin, make sure to collect the necessary cleaning materials. You will need:
- Warm soapy water
- A soft cloth or sponge
- A brush with soft bristles
- Baking soda
- White vinegar
Cleaning Process
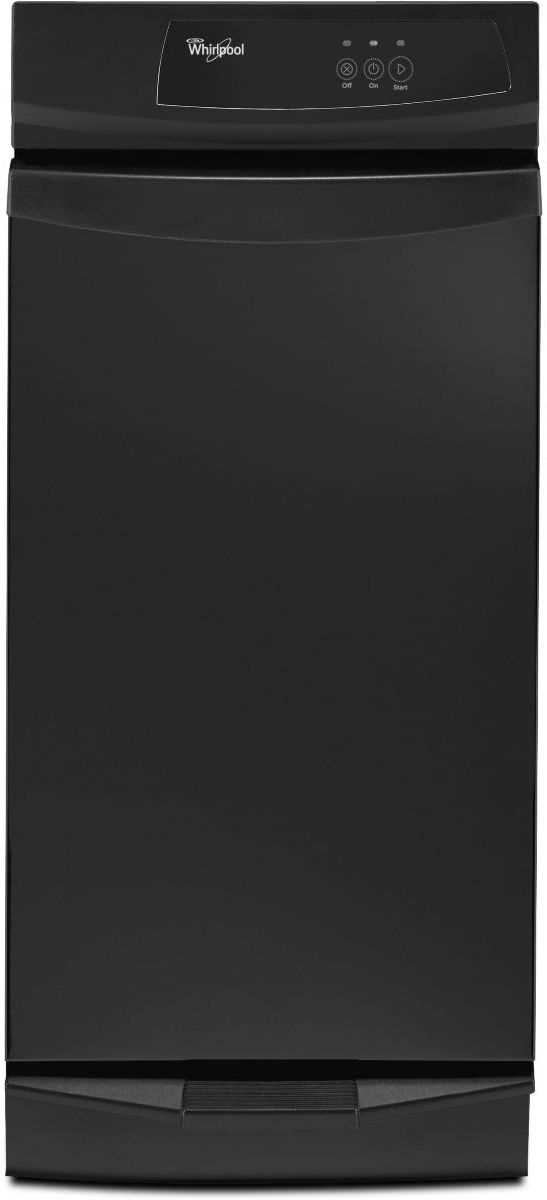
Start by disconnecting the appliance from the power source to ensure safety. Using a damp cloth, wipe down the interior surfaces to remove any residue. For stubborn spots, a mixture of baking soda and water can effectively lift grime. Don’t forget to clean the exterior, including the control panel and any accessible parts. Rinse with a clean damp cloth to eliminate soap residue.
To tackle odors, pour a small amount of white vinegar into the unit and let it sit for a few minutes before wiping it out. This natural deodorizer helps neutralize any lingering smells. Finally, allow everything to dry completely before reconnecting the device to power.
When to Call a Professional
Recognizing when to seek assistance from a skilled technician is crucial for maintaining the efficiency of your appliance. While many minor issues can be resolved independently, some problems require specialized knowledge and tools to ensure safety and proper functioning. Understanding the signs that indicate the need for professional intervention can save time and prevent further damage.
Signs of a Major Issue
If you notice unusual noises, persistent error messages, or a complete failure to operate, these may signal a significant malfunction. Ignoring these symptoms can lead to more extensive damage, making timely professional assessment essential.
Safety Concerns
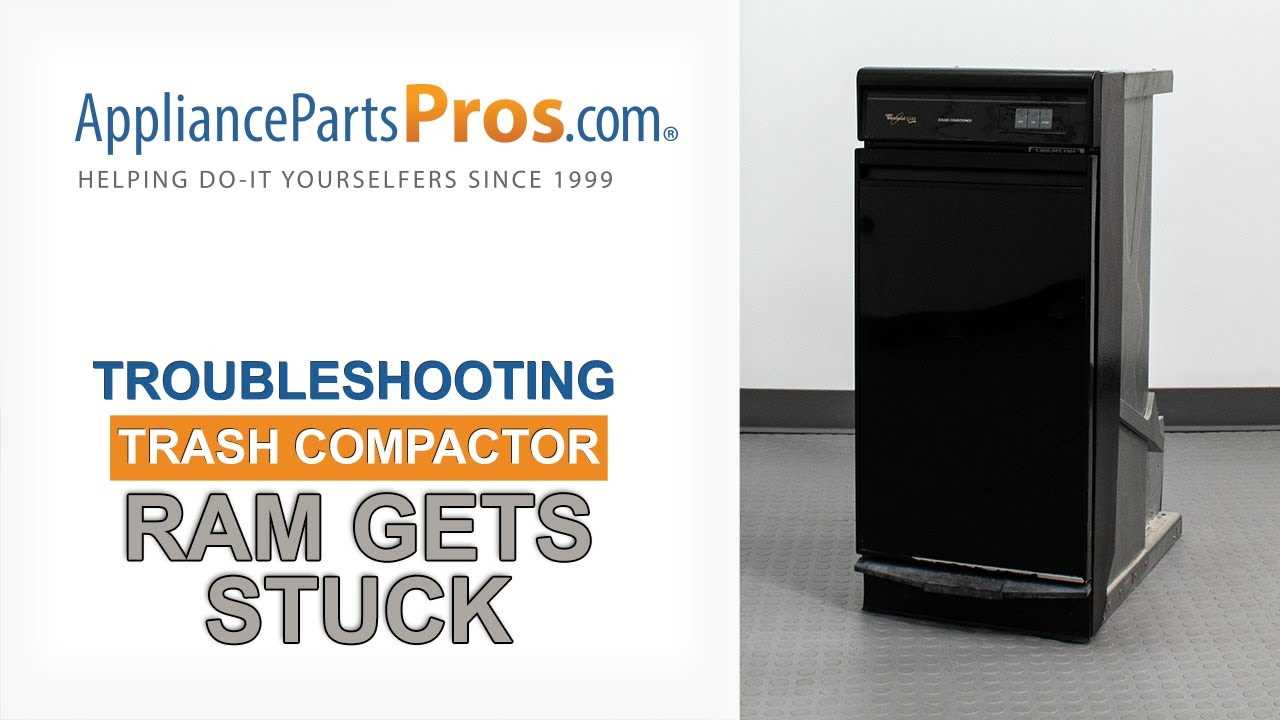
Whenever there are concerns about electrical components or if you feel uncertain about handling a particular situation, it is best to consult an expert. Safety should always be the top priority, and professionals have the training to manage potentially hazardous conditions effectively.
Finding Replacement Parts Online
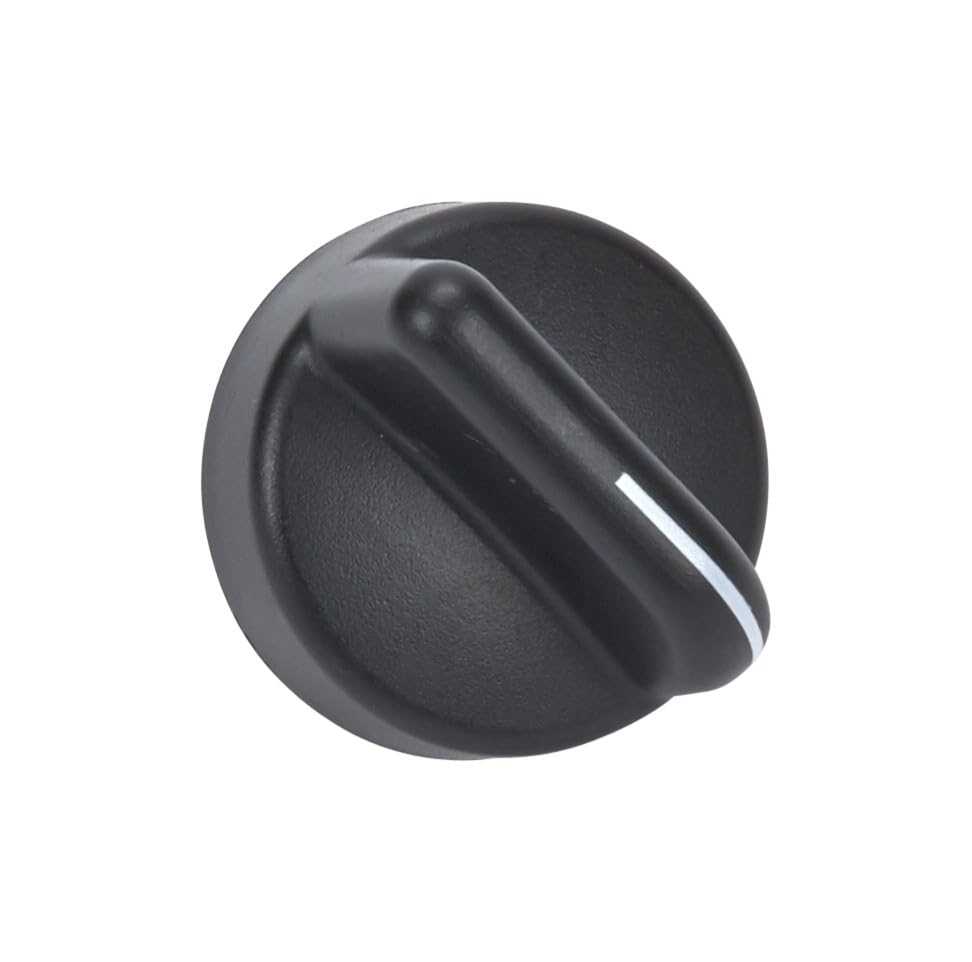
Locating suitable components for your appliance can be a straightforward process when utilizing online resources. The internet offers a plethora of platforms dedicated to helping consumers find exactly what they need, whether for maintenance or upgrades. Understanding how to navigate these options efficiently can save time and ensure you acquire the correct items.
Begin your search by identifying the specific part numbers associated with your device. Most manufacturers provide these numbers in their documentation or on the appliance itself. Once you have this information, you can explore various websites that specialize in selling appliance components. Look for reputable retailers that offer clear product descriptions and detailed images to ensure compatibility.
Another effective strategy is to utilize online forums and communities focused on home appliances. Here, you can find recommendations for trustworthy suppliers and gain insights from other users who have encountered similar challenges. Engaging with these communities can also provide tips on installation and troubleshooting.
Additionally, consider checking for used or refurbished components, which can often be found at lower prices. Websites that specialize in second-hand goods may have exactly what you need at a fraction of the cost. Just be sure to verify the condition and functionality before making a purchase.
Finally, don’t forget to compare prices across different platforms to ensure you’re getting the best deal. Some sites may offer discounts, free shipping, or loyalty programs that can further reduce your costs. With a bit of research and patience, you can efficiently locate the parts necessary to keep your appliance running smoothly.