Comprehensive Guide to Washing Machine Repairs
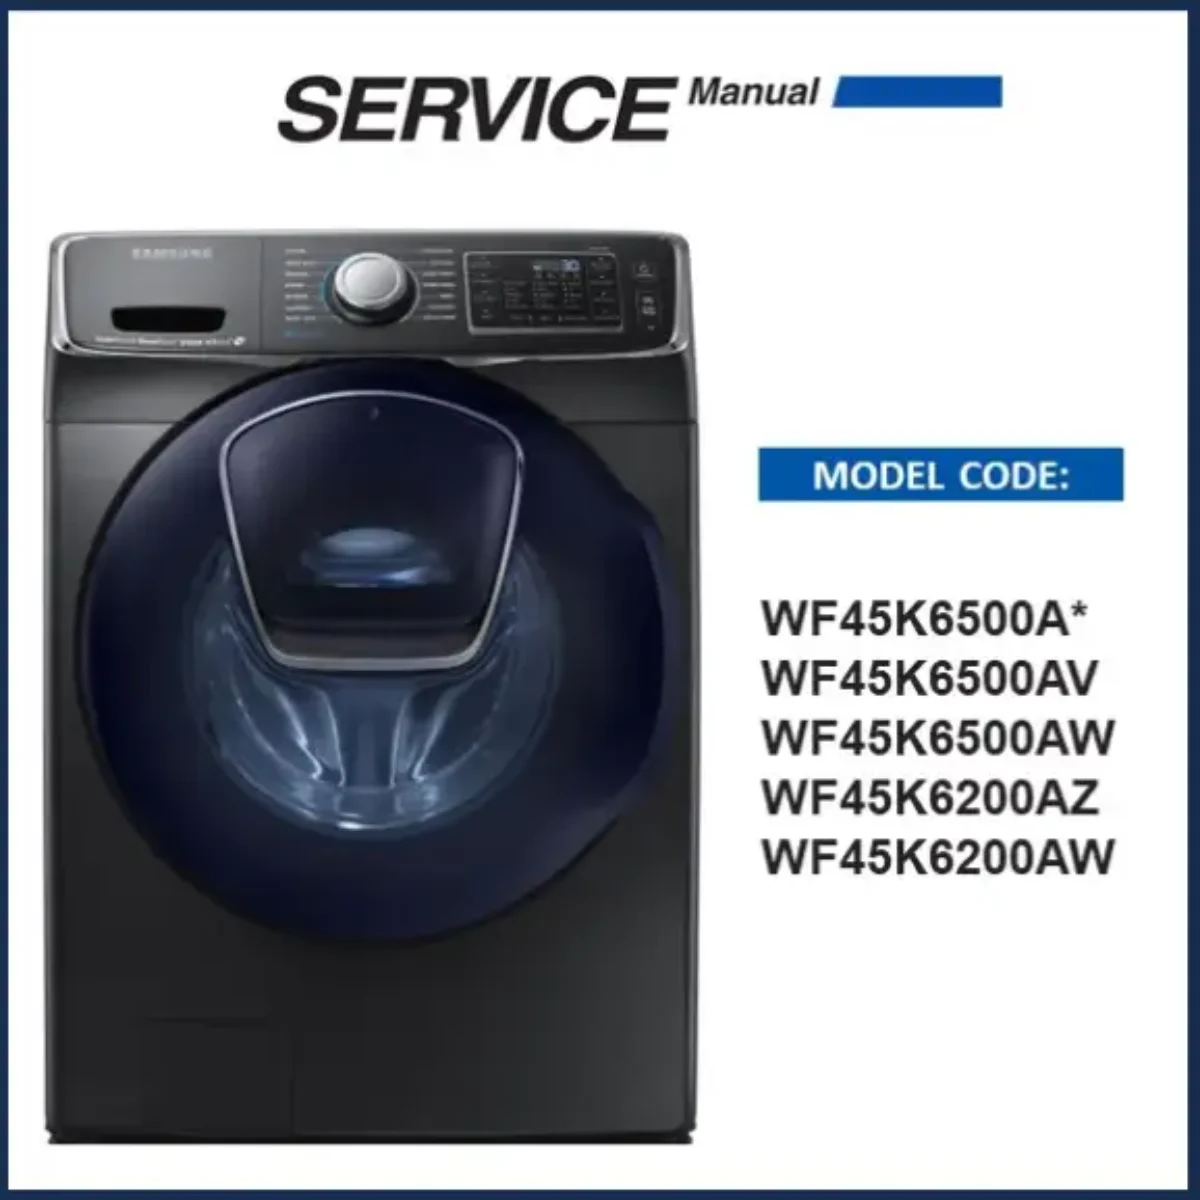
Understanding how to maintain and fix household devices is essential for every homeowner. This guide offers insights into common issues encountered with these essential items, helping you diagnose problems and apply effective solutions. By becoming familiar with their components and functionalities, you can enhance their longevity and efficiency.
Identifying symptoms is the first step in addressing any malfunction. Whether it’s unusual noises, failure to operate, or inefficiency, recognizing these signs early can prevent more significant complications. This resource aims to provide you with the knowledge needed to navigate these challenges confidently.
Step-by-step instructions will guide you through various troubleshooting techniques, empowering you to take control of your device’s performance. With a bit of patience and the right approach, you can resolve many issues without the need for professional assistance.
Common Issues with Washing Machines
Household appliances often face various challenges that can hinder their performance. Understanding these frequent problems can help users troubleshoot effectively and maintain functionality over time.
Noise during operation is a common complaint, often resulting from foreign objects lodged in the drum or issues with the motor. It is essential to inspect the interior periodically to prevent potential damage.
Water leakage may occur due to worn-out seals or improperly connected hoses. Identifying the source of the leak quickly is crucial to avoid further complications, such as water damage to surrounding areas.
Insufficient cleaning can be attributed to various factors, including incorrect loading, detergent issues, or malfunctioning components. Users should ensure that they are using the right products and loading techniques for optimal results.
Cycle completion failure can be frustrating, often linked to electrical issues or faulty timers. Regular maintenance checks can help catch these problems early and ensure smooth operation.
Troubleshooting Noisy Operation
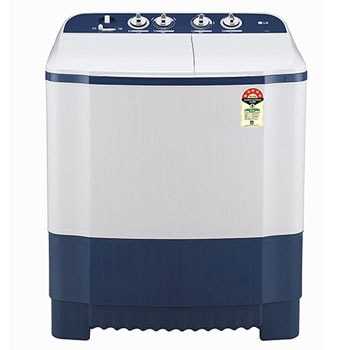
Unusual sounds during operation can indicate various issues that may require attention. Identifying the source of the noise is essential for ensuring efficient performance and longevity of the appliance. This section provides insights into common causes and solutions for addressing disruptive sounds.
Common Causes of Noise
Several factors can contribute to loud or unexpected sounds during operation. Here are some typical issues to consider:
| Issue | Possible Cause | Solution |
|---|---|---|
| Thumping | Unbalanced load | Redistribute contents evenly |
| Scraping | Foreign object | Check drum for items |
| Grinding | Worn bearings | Inspect and replace if necessary |
| Banging | Loose components | Tighten screws and bolts |
| Whirring | Defective motor | Examine motor function |
Steps to Mitigate Noise
Once the cause has been identified, taking appropriate action can significantly reduce or eliminate the noise. Regular maintenance and careful loading can help prevent these issues from arising in the future.
Diagnosing Drainage Problems
Effective troubleshooting of water expulsion issues is crucial for maintaining optimal performance. Identifying the root cause can prevent further complications and extend the lifespan of the unit. This section outlines key indicators and steps to assess potential drainage failures.
Begin by observing any unusual sounds or prolonged cycles during the emptying phase. These signs often suggest blockages or pump malfunctions. Inspecting the drainage hose for kinks or clogs is essential, as improper positioning can impede flow. Ensure the hose is correctly installed and elevated above the water level.
Next, examine the filter for debris accumulation. A clean filter is vital for efficient operation, and neglecting this component can lead to significant drainage delays. If the filter appears dirty, cleaning it thoroughly may resolve the issue.
Lastly, assess the pump functionality. A malfunctioning pump can hinder proper drainage and may require further inspection or replacement. Testing the pump’s electrical connections and ensuring it operates correctly will determine if it is the source of the problem.
Understanding Spin Cycle Failures
The spin phase is a critical aspect of any laundry appliance’s operation, influencing the effectiveness of water extraction from fabrics. When issues arise during this process, it can lead to damp garments and prolonged drying times. Identifying the underlying causes of these malfunctions is essential for effective troubleshooting and restoration.
Common reasons for failures during the spin phase may include mechanical obstructions, motor malfunctions, or imbalanced loads. Recognizing these factors can assist in diagnosing the problem effectively.
| Potential Issue | Description |
|---|---|
| Unbalanced Load | When items are distributed unevenly, it can cause excessive vibrations, leading to the appliance stopping the spin cycle to prevent damage. |
| Clogged Drainage | Blocked hoses or pumps can prevent proper water removal, affecting the ability to reach high spin speeds. |
| Motor Problems | Failures in the motor or its components can hinder the spin action, resulting in insufficient performance. |
| Faulty Door Lock | If the locking mechanism does not engage properly, it may prevent the device from entering the spin phase altogether. |
By understanding these potential issues, users can take proactive steps to mitigate problems and ensure optimal functioning during the spin phase. Regular maintenance and careful loading practices can also contribute to longevity and performance efficiency.
Repairing Door Seal Leaks
Addressing issues with leaks around the entrance is essential for maintaining optimal performance and preventing damage. The entryway’s seal plays a critical role in ensuring that fluids remain contained. Over time, wear and tear can lead to gaps or breaks in this barrier, resulting in unwanted escapes.
Identifying the Problem: Begin by inspecting the seal for any visible signs of wear, such as cracks, tears, or deformities. It’s important to check the alignment of the entry as well, since improper positioning can contribute to leakage.
Cleaning the Area: Before making any fixes, thoroughly clean the area around the seal. Use a gentle cleaner to remove dirt and debris that may interfere with the adhesive properties of any materials you plan to use.
Applying a New Seal: If the existing barrier is damaged, consider replacing it. Select a compatible alternative and carefully follow installation guidelines to ensure a proper fit. This will help restore the integrity of the entrance.
Regular Maintenance: To prevent future issues, regularly inspect the seal for signs of wear. Keeping the area clean and checking for proper alignment can significantly extend the lifespan of the barrier and maintain efficiency.
Addressing Electrical Faults
Electrical issues can arise unexpectedly, causing disruptions and preventing optimal functionality. Understanding common faults and their implications is crucial for effective troubleshooting. This section will guide you through identifying and resolving electrical anomalies that may occur in your appliance.
Common Symptoms of Electrical Issues
- Failure to start or power up
- Unusual noises during operation
- Fluctuating power supply or inconsistent performance
- Visible signs of damage to cords or connections
Troubleshooting Steps
- Ensure the device is properly connected to a functioning outlet.
- Inspect power cords for any signs of wear or fraying.
- Check circuit breakers or fuses for any tripped or blown components.
- Test internal connections to ensure they are secure and intact.
- If problems persist, consider consulting a professional technician for further diagnosis.
Taking these steps can help mitigate issues effectively and restore functionality. Regular maintenance and vigilance can also prevent future electrical faults, ensuring longevity and reliability in operation.
Replacing Worn Out Belts
Over time, the components responsible for driving mechanisms can become worn, leading to reduced functionality. This section will guide you through the process of replacing these crucial parts to ensure optimal performance.
Before beginning the replacement, it is important to gather the necessary tools and materials:
- New belts
- Screwdriver set
- Pliers
- Work gloves
Follow these steps to complete the replacement:
- Unplug the unit to ensure safety during the process.
- Remove the access panel, typically located at the back or bottom.
- Carefully detach the old belts, noting their placement and orientation.
- Install the new belts, ensuring they are aligned properly with the pulleys.
- Reattach the access panel securely.
- Plug the unit back in and test to ensure proper operation.
Regular maintenance can prolong the lifespan of these components, enhancing overall functionality.
Cleaning and Maintaining Filters
Regular upkeep of filtration systems is essential for optimal performance and longevity. These components play a crucial role in ensuring that debris and impurities are effectively removed, contributing to the overall efficiency of the device.
To begin the cleaning process, first, locate the filter compartments. Depending on the design, these may be situated at the front, back, or side. Carefully detach the filters, taking care to note their orientation for reinstallation. Rinse each filter under warm running water to eliminate accumulated dirt and lint. For stubborn buildup, a soft brush can be employed to gently scrub the surface.
After rinsing, allow the filters to air dry completely before reinstalling them in their original positions. This practice not only helps maintain performance but also extends the lifespan of the components. Regular inspections should be scheduled to prevent clogs and ensure smooth operation.
Checking Water Inlet Valves
Ensuring a proper supply of liquid is crucial for the efficient functioning of any cleaning device. One common issue that may arise is related to the components responsible for regulating this supply. By assessing these elements, you can determine if they are functioning optimally or if further action is required.
To effectively evaluate the status of the inlet components, follow the steps outlined in the table below:
| Step | Description |
|---|---|
| 1 | Turn off the power supply to the appliance to ensure safety during inspection. |
| 2 | Locate the inlet units, typically found at the back, where hoses connect. |
| 3 | Check for any visible damage or signs of leakage around the connections. |
| 4 | Use a multimeter to test the electrical continuity of the components. |
| 5 | Inspect the filters for clogs or debris that could impede flow. |
| 6 | Reconnect everything and turn on the power to observe if water flows as expected. |
By following these steps, you can diagnose issues related to the fluid supply system, ensuring efficient performance and longevity of the device.
Examining Agitator Functionality
Understanding the operation of the stirring component is essential for effective maintenance and troubleshooting. This critical part plays a significant role in the overall cleaning process, ensuring that garments are thoroughly mixed with detergent and water. When issues arise, it’s important to identify the underlying causes to restore optimal performance.
Key factors to consider when assessing the stirring component include:
- Wear and tear of the agitator blades
- Drive system functionality
- Alignment and positioning
- Water level and distribution
Here are some steps to evaluate the condition of the stirring mechanism:
- Inspect the blades for damage or signs of corrosion.
- Check the connection between the drive system and the stirring unit for any looseness.
- Ensure proper alignment by examining the placement within the housing.
- Observe the water level during operation to confirm it is adequate for effective stirring.
By following these guidelines, you can diagnose potential issues and ensure the stirring component operates as intended, contributing to the overall efficiency of the cleaning process.
Fixing Overloading Complications
Overloading issues can lead to various operational challenges, causing significant disruptions in functionality. Understanding the root causes and implementing effective solutions is essential for restoring normalcy.
Common Causes of Overloading
Several factors can contribute to excessive strain, impacting performance. Identifying these causes is crucial for troubleshooting effectively.
| Cause | Description |
|---|---|
| Excessive Load | Placing too many items can lead to uneven distribution, causing strain. |
| Faulty Sensors | Malfunctioning detection systems may fail to indicate proper capacity, resulting in overload. |
| Improper Settings | Using incorrect settings for the load type can exacerbate the issue. |
Solutions to Overloading Issues
Implementing specific strategies can mitigate overloading complications. Properly addressing these concerns is vital for optimal operation.
| Solution | Action |
|---|---|
| Adjust Load Size | Ensure that items are within recommended limits for effective functioning. |
| Check Sensors | Regularly inspect and replace any malfunctioning detection components. |
| Verify Settings | Confirm that the chosen settings match the load type to avoid complications. |
Utilizing Manufacturer Resources
Accessing resources provided by the original creators can greatly enhance your understanding and troubleshooting capabilities. These materials often include detailed information on product specifications, common issues, and solutions that can guide you through various challenges. Utilizing these resources can save time and improve the overall experience of maintenance and enhancement.
Official Documentation
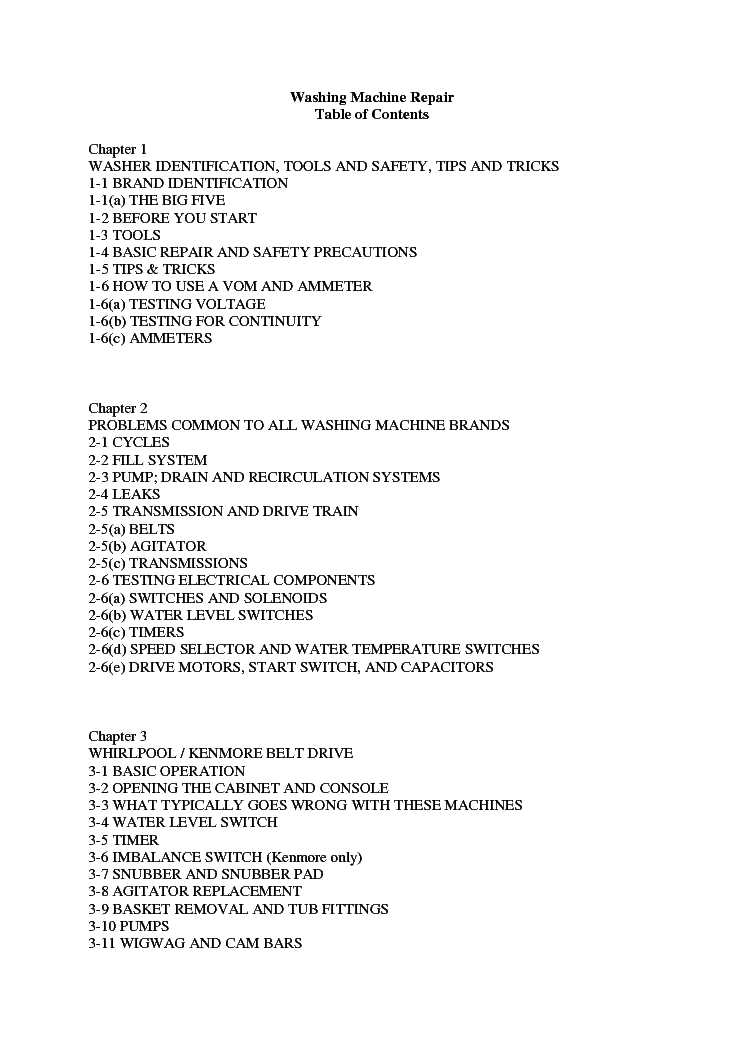
Documentation from manufacturers typically contains comprehensive guides, including installation instructions, operational tips, and troubleshooting steps. Engaging with these documents ensures that you follow recommended procedures and avoid common pitfalls. This information is often tailored specifically to the model you are working with, making it a valuable asset.
Customer Support Services
Many manufacturers offer customer support that can assist you with inquiries or issues that arise during the process. Reaching out to support teams can provide insights and solutions that may not be readily available in written resources. Additionally, online forums and communities hosted by manufacturers can serve as platforms for sharing experiences and tips among users.