Effective Tips for Repairing a Manual Can Opener

Kitchen tools are often indispensable for daily meal preparations, aiding in effortless food processing and making our tasks more efficient. Yet, over time, even the most robust gadgets may show signs of wear, creating challenges in our usual cooking routines. This section delves into practical ways to breathe new life into essential culinary tools, focusing on restoring them to their original ease of use.
When familiar utensils lose their edge or struggle to function smoothly, it’s easy to feel inconvenienced. However, with a bit of knowledge and a few adjustments, these trusted devices can often be refreshed and brought back to optimal performance. Understanding their basic components and addressing minor issues can extend their life span, ensuring they continue to serve effectively for many meals to come.
Detailed guidance on fixing and maintaining such items not only saves money but also helps reduce waste by keeping reliable tools in working order. In the following sections, explore step-by-step methods to troubleshoot and restore these kitchen companions, bringing simplicity and efficiency back into your culinary experience.
Assessing Common Issues with Manual Can Openers
Understanding typical complications that arise with these tools helps in identifying sources of malfunction and allows for a more effective approach to restoration. Frequent issues often relate to specific parts that wear out or stop functioning as smoothly over time. Here, we’ll examine several typical problems that may occur.
- Difficulty in Cutting: This issue often stems from a dulled or misaligned blade, which may struggle to pierce or move smoothly around the lid.
- Handle Slippage: Over time, the handle may become loose or slip, affecting the control and pressure needed for proper operation.
- Gear Misalignment: Gears can shift or wear down, which disrupts their ability to rotate and press evenly, causing irregular movement or jams.
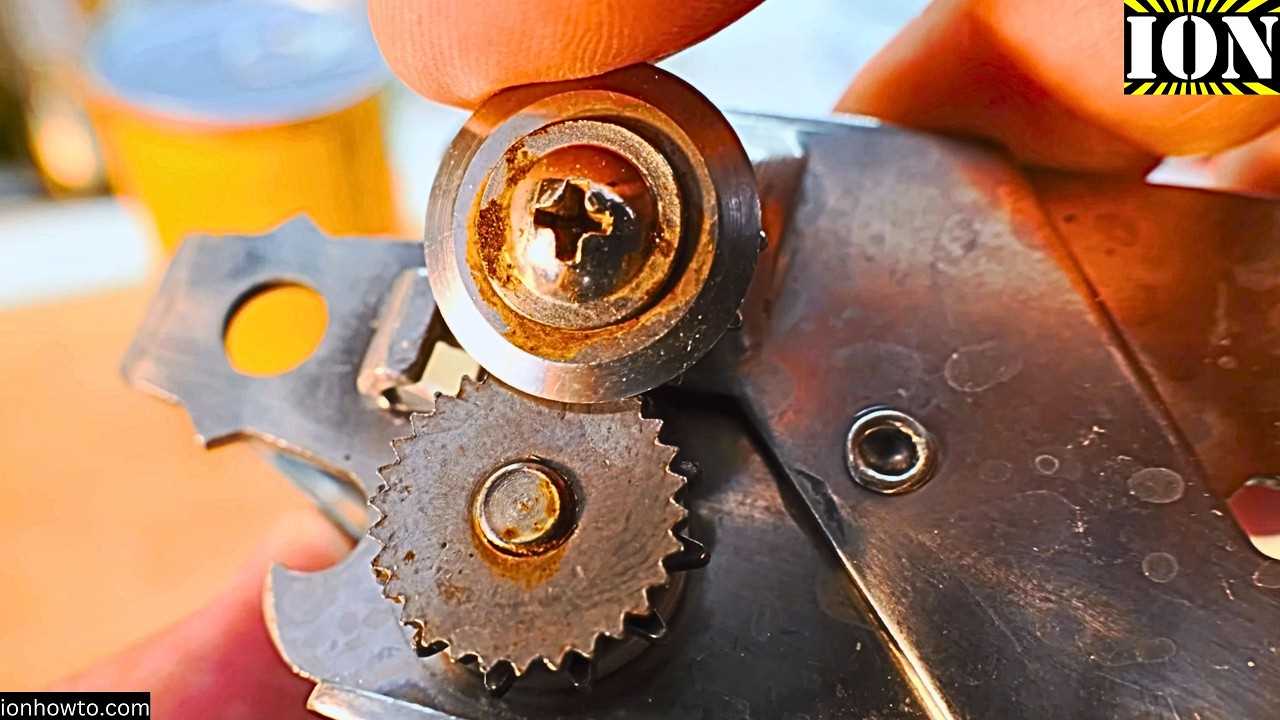
- Rust and Residue Build-Up: Exposure to moisture and food particles can lead to rust or buildup, which can hinder movement and dull blades.
- Stiff Mechanism: Lack of lubrication or long periods of inactivity may cause stiffness, making the tool harder to operate smoothly.
Addressing these common challenges is key to restoring effective functionality and prolonging the tool’s usability.
Identifying Worn or Damaged Parts
Understanding which components may show signs of wear over time is essential for ensuring continued functionality. Regular examination of each part can help in recognizing any issues that could impact overall performance.
To begin, focus on specific elements that often face stress during use:
- Blades: Check for dullness or any nicks along the edges. Blades that are no longer sharp may struggle with their task effectively.
- Gears: Inspect for any misalignment or wear on the teeth. Worn gears might cause slippage or uneven movement.
- Handle Mechanism: Look for any stiffness or loose connections. This part should rotate smoothly without resistance.
- Grips: Verify that all grips are intact and provide a stable hold. Damaged or loose grips can make operation uncomfortable or challenging.
Regularly examining these parts can help maintain effective functionality and prevent common issues caused by worn elements.
Cleaning Rust and Debris from Blades
Over time, blades are prone to accumulating rust and various particles that can affect their performance. Keeping these surfaces clear ensures smooth functionality and extends the tool’s overall lifespan. Regular maintenance helps to keep the blades in optimal condition, ready for everyday use.
Removing Rust Buildup
To eliminate rust, start by using a gentle abrasive like steel wool or a fine sandpaper. Carefully rub the blade’s surface to lift off the rust without scratching or damaging the metal. Once the rust is reduced, apply a small amount of oil to prevent further oxidation. Wipe down the blade with a soft cloth to finish.
Clearing Away Debris
Debris often gathers around the blade edges, impacting smooth movement. Use a small brush, like a toothbrush, to clear out any particles. Focus on areas where debris may accumulate, as even minor buildup can disrupt efficiency. Regularly cleaning the blade edges keeps them free from unwanted buildup and maintains peak performance.
Realigning Gears for Smooth Operation
Ensuring that gears work in unison is essential for steady and effortless movement. Over time, misalignment can occur, causing irregular function. By carefully adjusting each component, you can restore precision to the tool’s motion, making its operation more fluid.
| Step | Action | Description |
|---|---|---|
| 1 | Inspect Gear Placement | Examine each gear closely, noting if any teeth appear out of sync or unevenly positioned. |
| 2 | Adjust Gear Alignment | Using a small tool, gently reposition any misaligned teeth to match the correct pattern, ensuring they interlock smoothly. |
| 3 | Test the Mechanism | Rotate the handle to test the alignment, confirming the gears move without catching or hesitating. |
| 4 | Secure All Components | Tighten any screws or fastenings to maintain the realigned position for lasting smoothness. |
Tightening Loose Screws and Bolts
Maintaining the integrity of various components is crucial for optimal functionality. Over time, fasteners may become loose due to regular use, leading to diminished performance. Addressing this issue not only enhances efficiency but also prolongs the lifespan of the device.
Identifying Loose Fasteners

Before taking action, it’s important to assess which fasteners require attention. Gently shake or manipulate the device to pinpoint any movement in its parts. This initial evaluation will guide you in determining where to focus your tightening efforts.
Tools and Techniques for Tightening
Utilize the appropriate tools, such as a screwdriver or wrench, to securely fasten the loose components. Ensure that you apply even pressure while tightening to avoid stripping the threads. Regular checks can help maintain stability and prevent future issues.
Lubricating Moving Parts for Efficiency

Maintaining optimal performance of mechanical devices requires regular attention to the components that facilitate movement. Ensuring these parts are adequately lubricated can significantly enhance their functionality and lifespan.
Proper lubrication reduces friction, which in turn minimizes wear and tear. Here are some steps to effectively apply lubricant:
- Identify the moving parts that require lubrication.
- Choose a suitable lubricant, such as food-grade oil or silicone spray.
- Clean the areas around the components to remove any debris or old lubricant.
- Apply a small amount of lubricant directly to the moving parts.
- Operate the mechanism a few times to distribute the lubricant evenly.
Regular maintenance, including lubrication, ensures that these devices function smoothly and efficiently. Consider incorporating this practice into your routine to extend the life of your tools.
Replacing a Dull Cutting Wheel
A dull cutting wheel can hinder the effectiveness of your kitchen tool, making tasks more difficult and frustrating. Over time, wear and tear can dull the sharpness of this essential component, requiring attention for optimal performance. Understanding the process of replacing this element can greatly enhance functionality and extend the lifespan of your utensil.
Begin by disassembling the tool according to the manufacturer’s instructions. Ensure you have a replacement cutting wheel that matches the specifications of the original. Carefully remove the old wheel, taking note of any screws or mechanisms involved. Once the old component is out, position the new wheel correctly, ensuring it fits snugly within the assembly.
After securing the new wheel in place, reassemble the tool by reversing the disassembly steps. Test the functionality to confirm that the new component operates smoothly and efficiently. Regular maintenance and timely replacement of worn parts will keep your kitchen instrument in excellent working condition.
Fixing Handle and Grip Problems
Issues with the gripping mechanism and lever can hinder effective usage, making it frustrating to perform tasks. Addressing these concerns is essential for maintaining functionality and ensuring a smooth operation.
Firstly, examine the handle for any signs of wear or damage. Loose connections can often be tightened using appropriate tools. Ensure that all screws and bolts are secure to restore stability. If the grip feels slippery or uncomfortable, consider applying a textured tape or grip pad to enhance comfort during use.
In cases where the handle is broken or cracked, replacement parts may be necessary. Many manufacturers offer spare components that can easily be swapped out. Carefully follow any instructions provided to ensure a proper fit and function.
Additionally, regular maintenance can prevent these issues from arising in the first place. Cleaning the mechanisms and applying lubrication where needed will keep the parts functioning smoothly and extend the lifespan of the device.
Testing the Can Opener After Repair
Ensuring functionality after maintenance is crucial for any kitchen tool. This section will guide you through the essential steps to confirm that your device operates smoothly and efficiently, allowing you to enjoy its benefits without any concerns.
Visual Inspection

Before conducting any practical tests, it’s important to carry out a thorough visual assessment. Check for any signs of misalignment, loose parts, or potential obstructions. Ensure that all components are securely fastened and in good condition.
Functional Testing
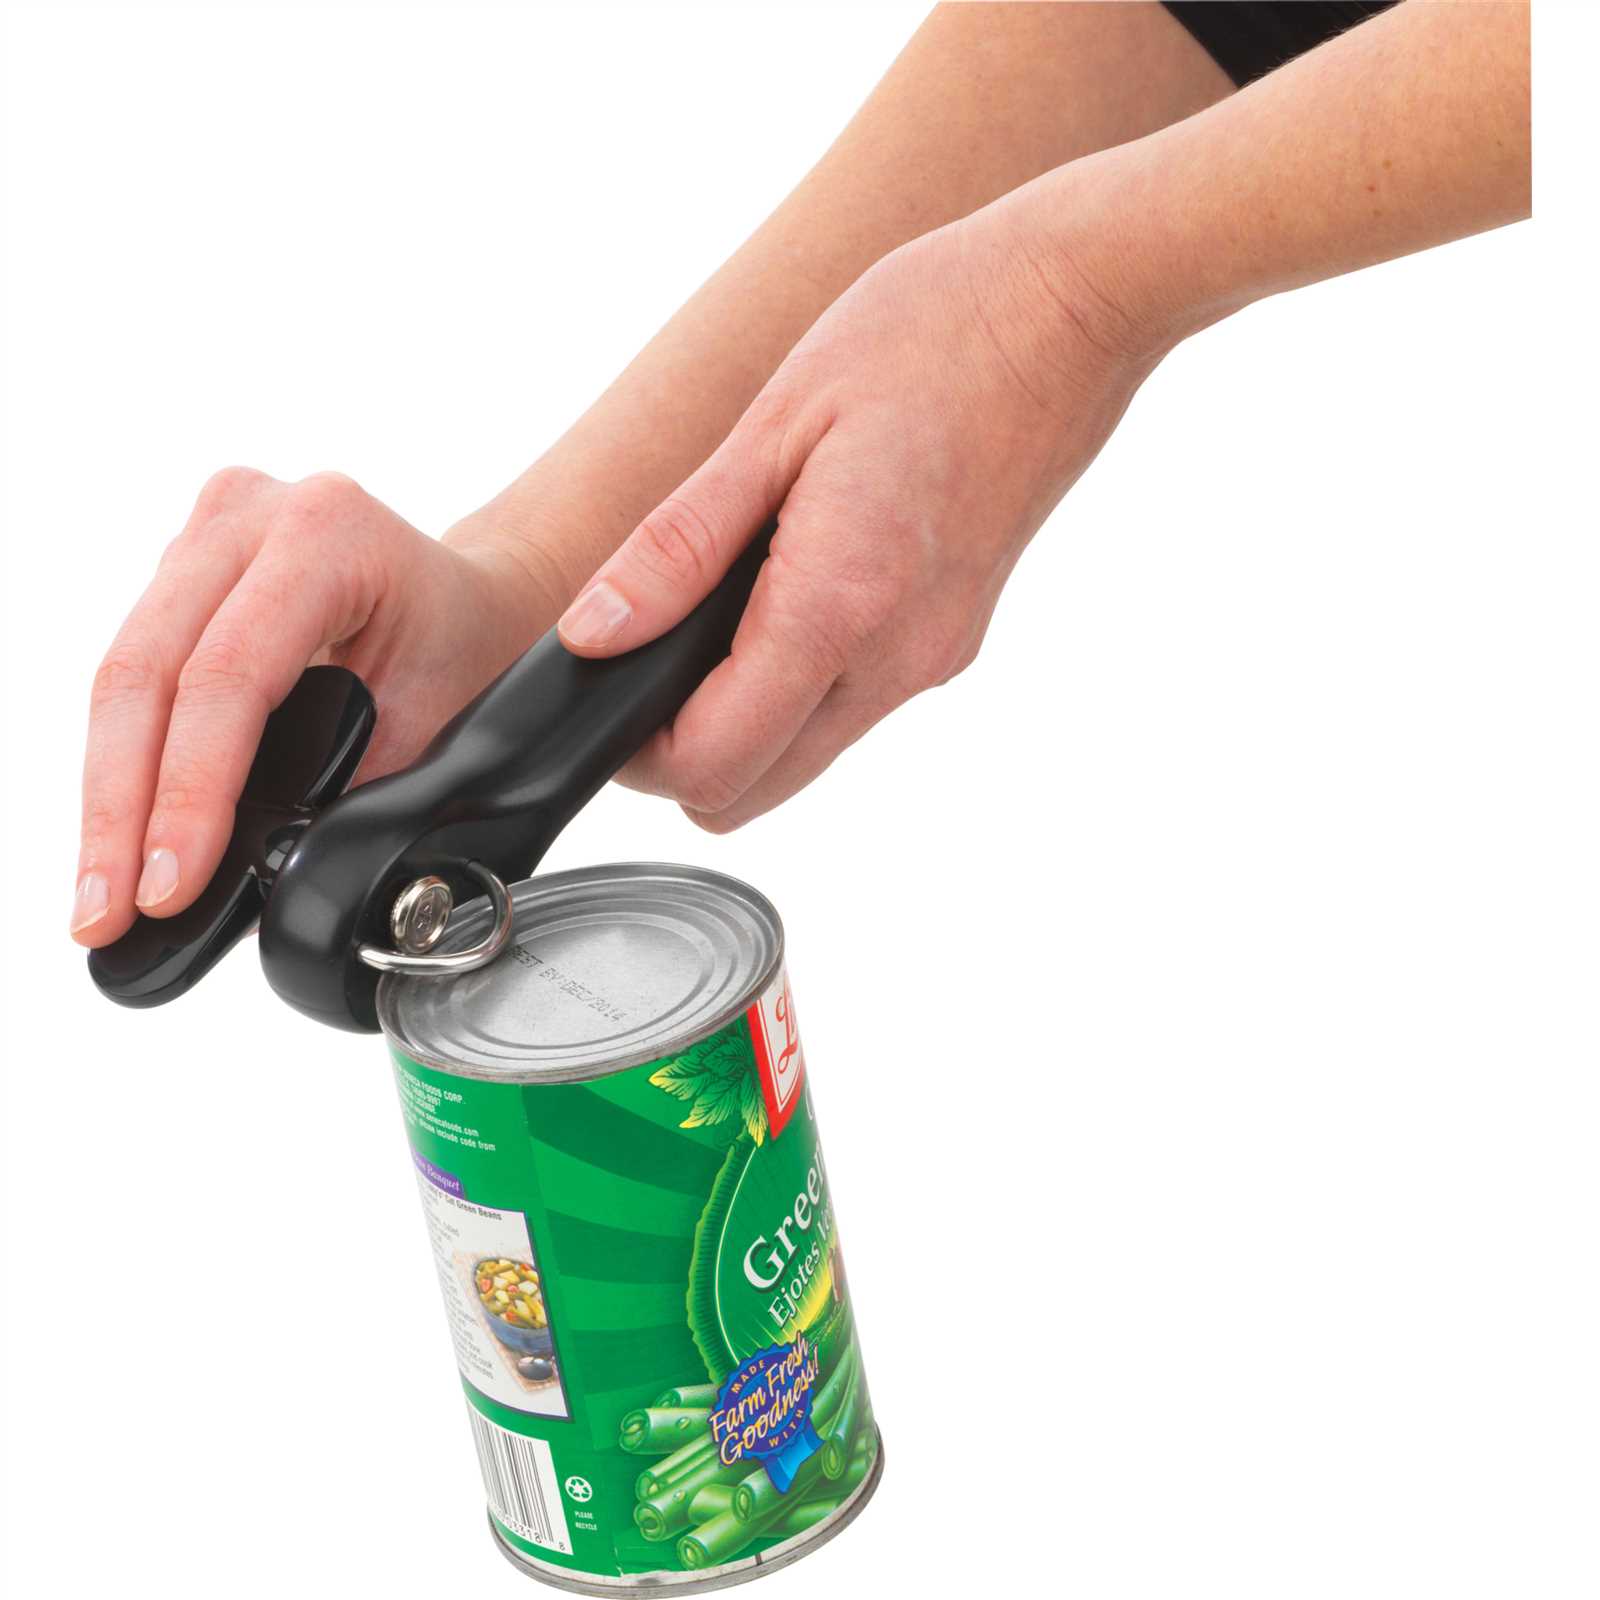
Once the visual inspection is complete, proceed to the functional evaluation. Use a standard tin to assess the tool’s performance. Observe its ability to puncture and cut through the lid effectively. If any issues arise during this test, further adjustments may be necessary.
| Test Type | Description | Expected Outcome |
|---|---|---|
| Visual Inspection | Check for damage and loose parts. | No visible issues. |
| Puncture Test | Attempt to pierce the lid of a tin. | Easy penetration. |
| Cutting Test | Run the tool around the lid. | Clean cut with minimal resistance. |
By following these steps, you can confidently ensure that your tool is ready for use, providing reliable service in your kitchen tasks.
Choosing Replacement Parts for Longevity
Ensuring the durability of your kitchen tool relies heavily on selecting the right components. Quality replacements can significantly enhance functionality and extend the lifespan of your equipment. It is essential to consider various factors when making your choices.
Material quality plays a crucial role in the overall performance. Opt for parts made from durable substances that can withstand frequent use. Stainless steel and high-grade plastics are often recommended for their resistance to wear and corrosion.
Additionally, compatibility is vital. Always check that the replacements match the specifications of your existing device. Mismatched components can lead to inefficiencies and potential damage over time.
Lastly, consider brand reputation. Established manufacturers usually provide reliable components that are tested for performance. Investing in reputable brands can save you time and money in the long run.
By focusing on these key elements, you can ensure that your kitchen tool remains functional and effective for years to come.
Maintaining Your Can Opener to Prevent Issues
Proper upkeep is essential for ensuring longevity and optimal performance of your kitchen tool. Regular attention can significantly reduce the likelihood of encountering problems, making each use smoother and more efficient. Implementing a few straightforward practices can greatly enhance its durability and functionality.
Routine Cleaning
Cleaning after each use is crucial. Residue from canned goods can accumulate and lead to corrosion or rust. A simple wash with warm, soapy water followed by thorough drying will keep your gadget in top shape.
Storage Recommendations
How you store your kitchen tool can affect its lifespan. Avoid placing it in damp areas or allowing it to come into contact with sharp objects. Keeping it in a dry, designated space will protect it from unnecessary wear and tear.
| Action | Frequency | Benefits |
|---|---|---|
| Cleaning | After each use | Prevents corrosion and buildup |
| Lubrication | Monthly | Ensures smooth operation |
| Inspection | Every few months | Identifies wear before it becomes a problem |